The Battle of Wagram, fought on the Marchfeld along side the Danube and not far from Vienna itself, took place on July 5-6, 1809 . It was the largest battle to that date in the history of Europe. The Hofkriegsrat team, namely myself, Joe Fish, Barry Frandsen, Thomas Kinstler, Roger Downie, and Dan Beattie had planned and painted for the series of six 1809 games that we ran at Historicon 2009 for over a year, but this was the big event! It took all six of us working hard to set up the terrain and troops over the course of about 90 minutes.

"OK, who's playing?"
In all, we wound up with 14 players, seven on each side, which was almost ideal. The table was a "Z sort of shape, and 5 feet wide. The section running from Glinzendorf and along the Russbach height on the French Right flank was 12 feet long, the central sector running from just beyond Markgrafneusiedl and along the Russbach to Deutsch-Wagram and beyond was 11 feet long, and the sector of the French Left running from about Aderklaa to Aspern and the Danube as 13 feet long; that's 36 linear feet of 5 foot wide table in all! . Here Aspern (and the Stadler arm of the Danube) are at the lower right, and Markgrafneusiedl is at the upper mid right. We had to angle the table to fit it into even the generous space allotted at the Host!


Set up looking from Deutsche-Wagram towards Markgrafneusiedl

A slightly different view of the same, as Peter continues to set up troops until the last minute!

View from the far Northern end of the Rusbach Plateau towards Margrafneusiedl and Baumersdorf.
Dan Beattie helps rearrange some Austrian troops, while Andy C. contemplates the scenario. He wound up taking an Austrian command; I think he's going to need the beer!

Overview of the table from the far portion of the Russbach Heights lower left to the Aspern - Breitenlee sector at upper right
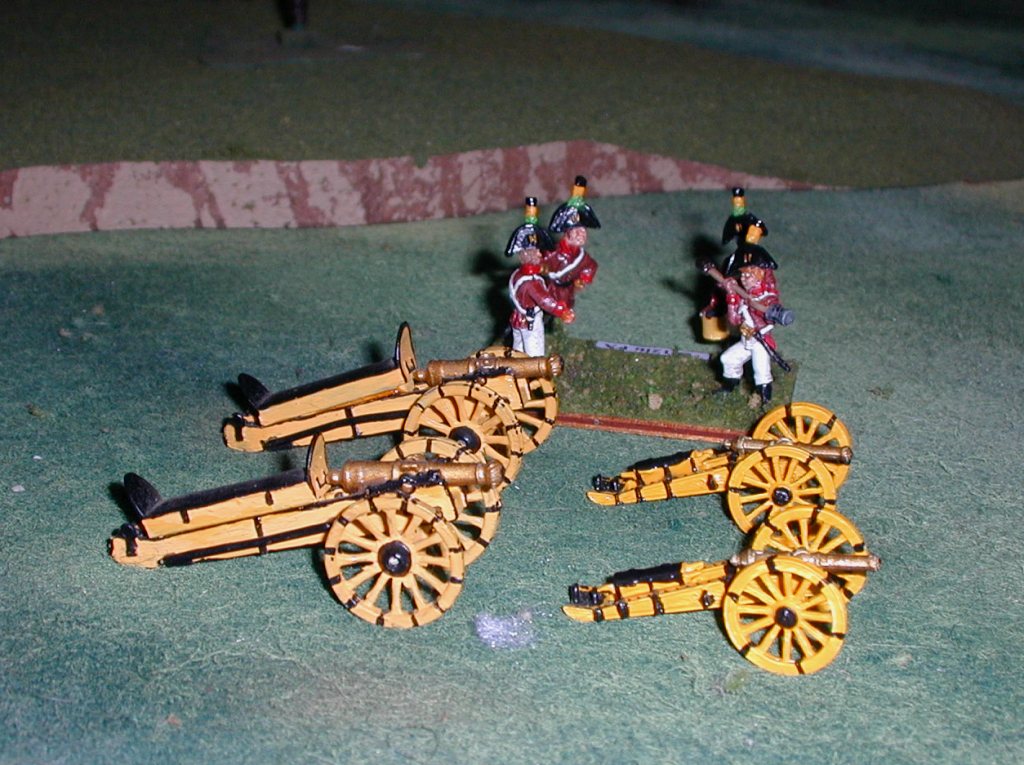
In all, there were the following troops involved, including contingents from all of the 'Rats, including myself, Roger Downie, Thomas Kinstler, Barry Frandsen, Joe Fish, and Dan Beattie as well as HAHGS members Peter Celella and Greg Hanson, all in 25/28mm:
French/Allied: 94 Infantry Units (1128 figs), 30 Cavalry Units (240 figs), 28 Artillery Units (56 guns/170 crew), 49 Command figures
Austrian: 79 Infantry Units (948 figs), 18 Cavalry Units (144 figs), 24 Artillery Units (48 guns/150 crew), 37 Command figures
Total figures: French 1582, Austrian 1279, Grand Total = 2,861 figures
Other members of HAHGS had assisted with a monumental playtest of the game back in CT the month prior, which was both fun and excellent preparation for running the game in Lancaster.

Wagram Terrain Map (from the "1809: Blunders on the Danube" scenario book)
The numbers in orange indicate the number of MOVE segments required for commands from the French Reserves at Raasdorf to enter the table at that location. The sectors are for breaking this huge battle down into three component engagements, which we obviously didn't do here! We did not use the optional rule for the possible arrival of Austrian Erzherzog Johann, either.

As a result of a successful "Raid on Hof" in June (run by 'Rat Joe Fish with Piquet: Les Grognards that morning at the Con), Wrede's Bavarian Division was not available, having been recalled to help deal with the uprisings in Southern Germany.

"Ready? Set? Let's Play!"
The players have selected their commands, and we're about to get started, while I brief "Napoleon" (Phillip)on the Reserves (off table at start) that he has available, and the mechanism for directing them and determining when they arrive once he gives the order!

Much as happened historically, Davout (played by brothers and Piquet veterans Chris and Pat Velas) quickly moved to attack the Austrians left flank, trying to seize control of the "hinge point" of the Austrian left flank at Margrafneusiedl (seen in the foreground).

Davout's artillery, in Grand Battery, hammers the Austrian defenders of Markgrafneusiedl in preparation for the infantry assault.

The Austrian artillery on the Eastern edge of the Russbach doesn't lack for targets, either.
"That's Up one for Superior Position, Up two for Point blank fire from smoothbore artillery, and Up another one for the target being in attack Column! Roll a D12 + 4 vs the target's D6."

Tim Couper assists with calculating the combat results

The French are making progress in their attack on Markgrafneusiedl

Napoleon (and also playing Oudinot) contemplates the bitter fighting along the Russbach...


Entering the table from their reserve position near Raasdorf , they unlimber just outside of Musket range from the Austrians defending the Russbach Heights
...and then draw an Artillery Firepower card - Firing as a Grand Battery, that's six shots at Point blank range from some of the finest smoothbore artillery units in the history of the world! Ouch!

Overview of the combat along the Russbach stream

Dan Beattie presides over the action on the Southern end of the table.
The Austrian players representing the Corps of Klenau (distant), Kolowrat (middle), and Liechtenstein's Reserve Grenadiers and Cuirassiers await the French attacks upon Aderklaa (mid ground) and Breitenlee (distant). The rooftops of Deutsche-Wagram are seen at the very bottom of the picture.

Looking North from Aspern, Massena (near) and Bernadotte (black shirt) realize they are considerably outnumbered by the Kaiserlicks in this sector... so Massena attacks!

Bernadotte's Saxons try to re-take Adderklaa
In so doing they are hampered by Morale Point losses assessed to represent the combat they had engaged in prior to the start time of the game (circa 9AM Battlefield time), as well as being pounded by Austrian artillery from two sides. Meanwhile, Massena's audacious attack seems to be keeping the white coats paralyzed near their starting positions. The players in this sector were all new to Piquet/Field of Battle.

Liechtenstein's Reserve Corps seems content to shoot at Bernadotte with their artillery, and otherwise wait for their moment... in Reserve!
In fairness, the player rolled a lot of poor Leadership dice scores on the Move cards, and thus was inclined to play it safe.

French attack the Russbach heights beyond Margrafneusiedl
This picture is perhaps my favorite shot of the game; one like it will be on the cover of the 1809: Blunders on the Danube scenario book.

Back on the far edge of the Russbach Plateau, Nordman's Advanced Guard Corps struggles to contain Davout...

...but are unable to do so; note the large gap in the Austrian position!

Heavy fighting continues around Breitenlee between Massena and Austrians Kleanau and Kolowrat; lead GM dispatches "Rats" Joe and Thomas to the sector to assist the players in keeping the game moving along.

Back near Markgrafneusiedl, Nordman has run out of Morale points, and fails his Corps Morale Test when the card comes up. French Dragoons and Cuirassiers pour through the gap onto the Russbach Plateau.

Meanwhile, the combat around Breitenlee drains Morale points from Massena, Klenau, and Kolowrat fairly equally.

The defeat of Nordman is followed closely by the collapse of morale for Rosenburg's Corps, which had been holding Markgrafneusiedl; this has exposed the flank of Hohenzollern's (Andy Cowell)'s position on the Heights.

Almost out of Morale points himself before the arrival of the Guard Horse Artillery, their intense bombardment plus Davout's progress breathes new life into Oudionot's Corps, and he manages to break through onto the plateau himself after seizing Baumersdorf.

Bernadottes Saxons are rapidly melting away; they are out of Morale Points.

Bernadotte rolls a "7" on his D10 versus a "1" on the opposing D12; he will pass at least one more Corps Morale Check before finally failing near the end of the game.

In an effort to take some of the pressure off of Bernadotte, as well as pin the remainder of the main Austrian line, Mac Donald's Army of Italy moves to the attack along the Russbach as well!

Fierce fighting between Mac Donald and Hohenzollern, as the Italians attempt to push the Austrian defenders back off the ridge line.

Klenau is repulsing Massena's attacks; the Badeners of Legrand's Division are seen in the center.


followed by the Infantry of the Guard - Old Young, and Middle, and their supporting Artillery...

and the Imperial Guard Cavalry - Polish Light Horse, Grenadiers a Cheval, Chasseurs a Cheval, and the Empress Dragoons!
At this point, we called the game - rolling for the outcome of the next Corps Morale Check card on each side showed that Bernadotte would finally have withdrawn his battered Saxons form the fray, after having held on long enough to allow the French to be victorious elsewhere, while both Massena and another two Austrian Corps would have failed their checks - total of 2 French and 5 Austrian Corps breaking from Morale loss. This would have left the almost pristine Imperial Guard and supports to break through around Aderklaa. Overall, it was scored a Major French Victory. As noted, we didn't use the option for possible arrival of Erzherzog Johann, in part because I hadn't figured out how to do that yet, and in part because we wouldn't have had enough troops for his force, too!
The game took less than four hours to play to a conclusion, and almost every player was engaged in heavy fighting for most of the game. The players all seemed to enjoy themselves, and as a GM it was great fun seeing the drama unfold over the course of the evening.
Although Wagram was a huge project, we enjoyed it tremendously, and given the megalomania inherent in being a Napoleonic Wargamer, we have an even bigger battle (in terms of figures) planned for Borodino at Historicon 2012, and a number of 1813 games including Dresden in the works for Historicon 2013. Meanwhile, we'll be running Znaim at Historicon 2011 in a few weeks; hope to see some of you there!
"You can *always* roll a One!"
Peter