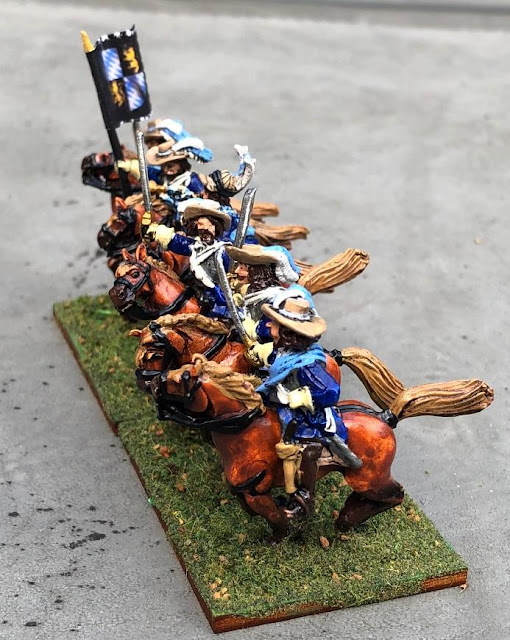
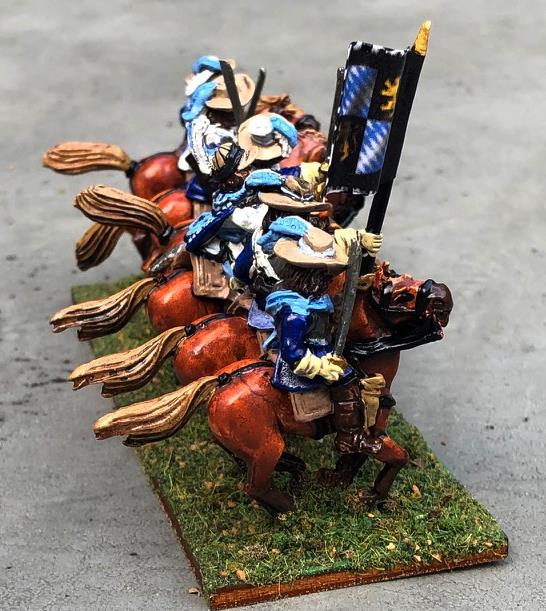
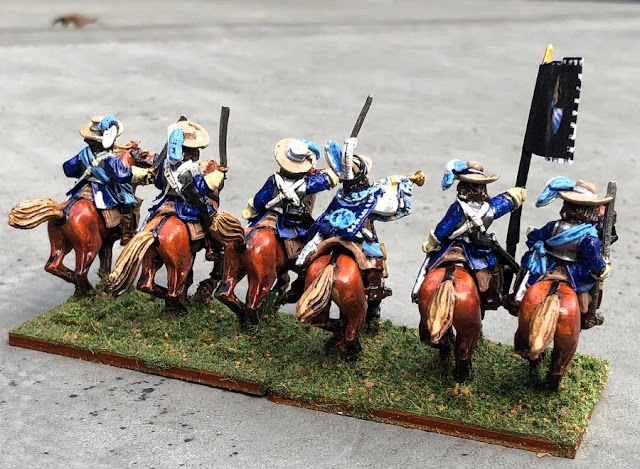
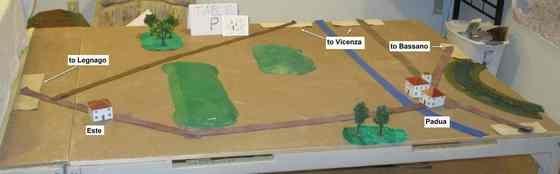
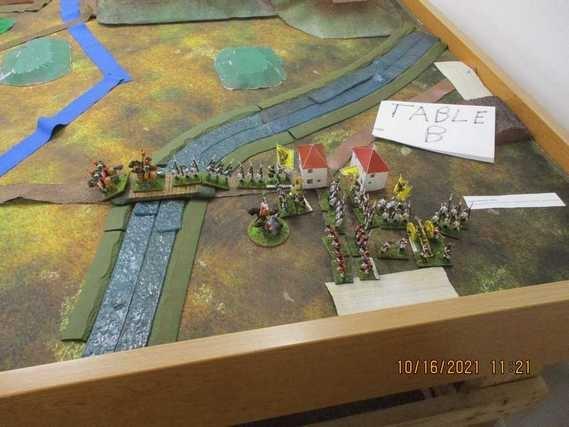
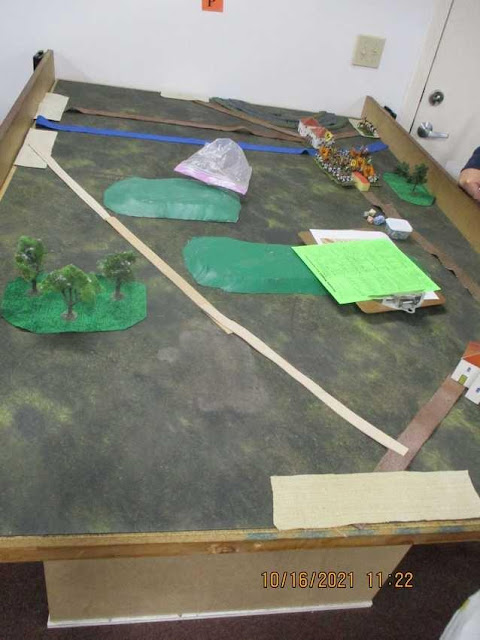
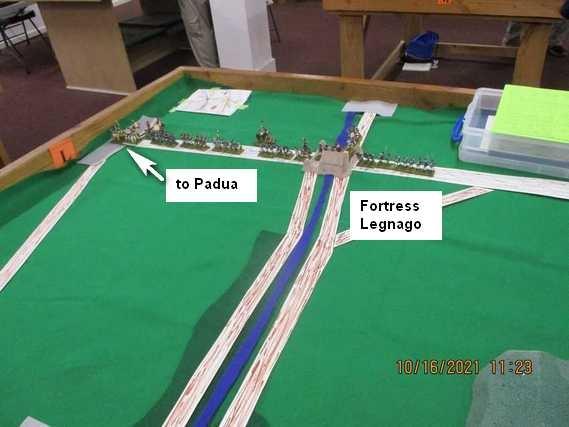
I did not know if they were scouting or the main body was behind then. I surmised that it was probable that the main body was behind them.
Are they just scouts... or the vanguard of an enemy Division?
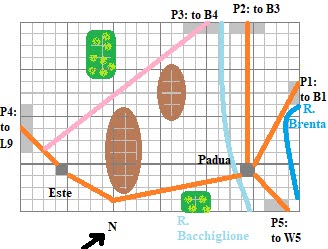
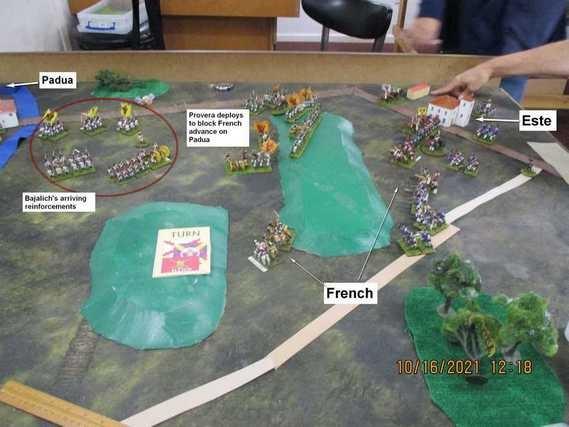
In the distance, the lead elements of Bajalich's Division can be seen marching on Padua from the Northeast.
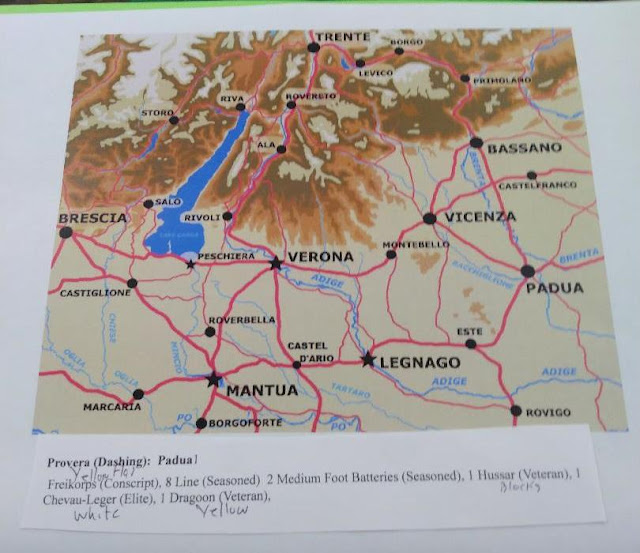
My command proceeded to march, but and before we could reach Este, a whole French Division (under Augerau, I later found out) was headed for the same village.
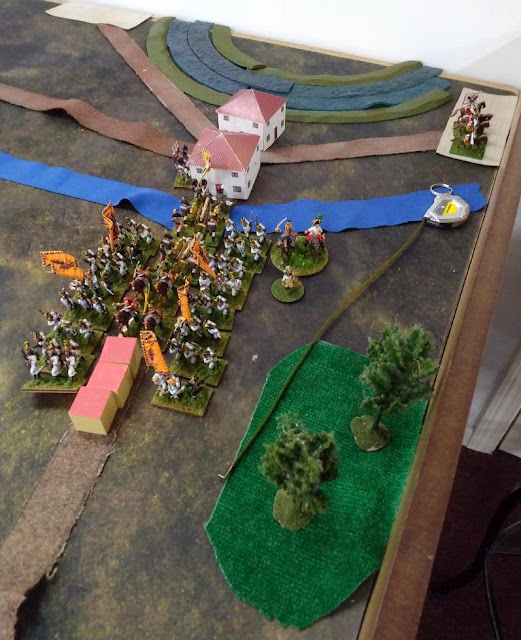
They would get there first and set up a Line. I sent my Cavalry ahead and sent my Infantry and Artillery to the hill and deployed into line then I crested the hill.
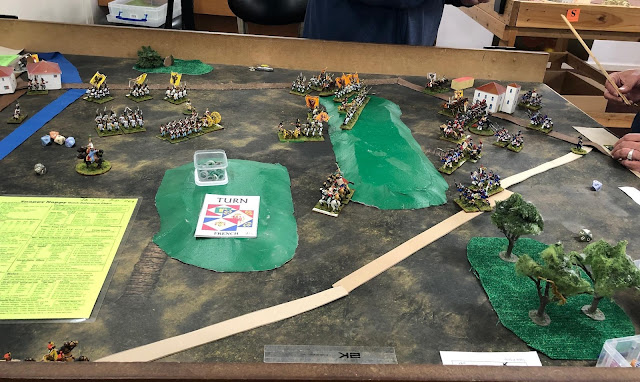
Augereau wins the race to Este.
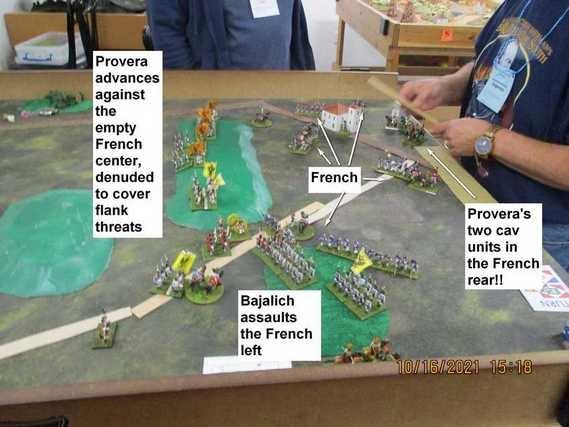
General Major Bajalich's Pontooniers attempted to bridge the Bacchlione, but were so slow in doing so that they instead debauched through Padua, and then headed for the French left while I opposed the center and the French right.
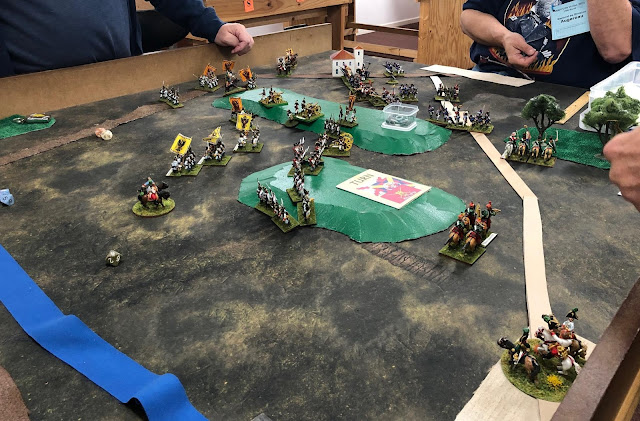
Lines develop for the Battle of Este.
I saw an opportunity and ordered my veteran Chevau-legers to charge into some French infantry. Unfortunately, the target turned out to be French Grenadiers supported by a unit of veteran Legere; my troopers fought bravely but in the end were eliminated as a fighting force.
The ill fated Charge of the Austrian Chevau-legers!
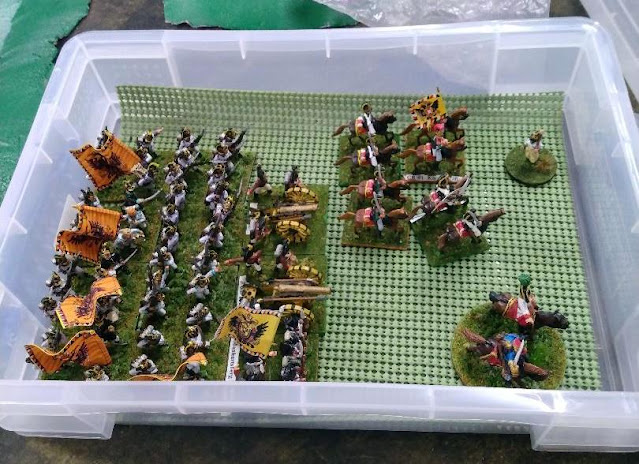
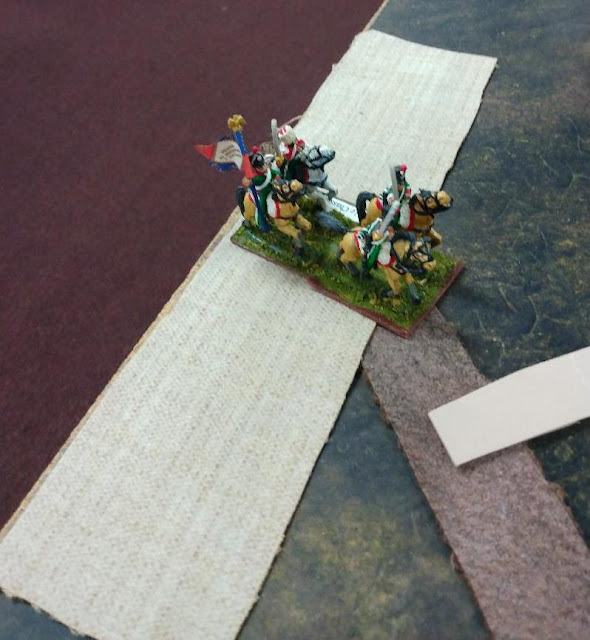
The blocks represent the Hussars, which were MIA in Provera's box.
Bajalich's Division moves up in support as the melee with the Grenadiers nears its ugly conclusion!
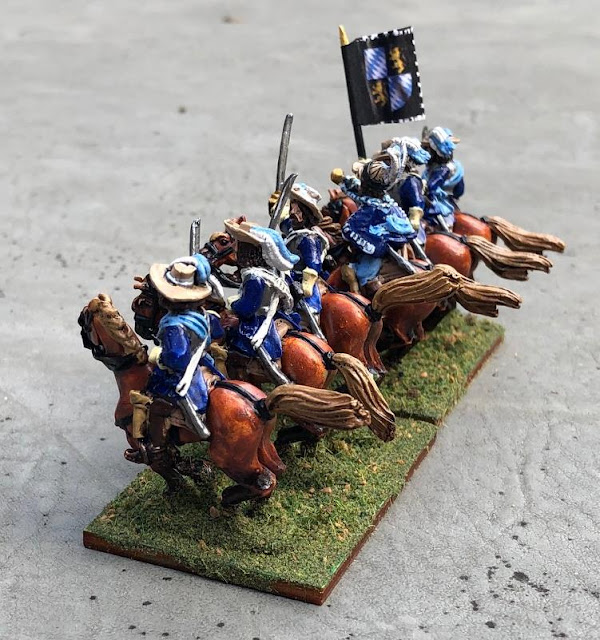
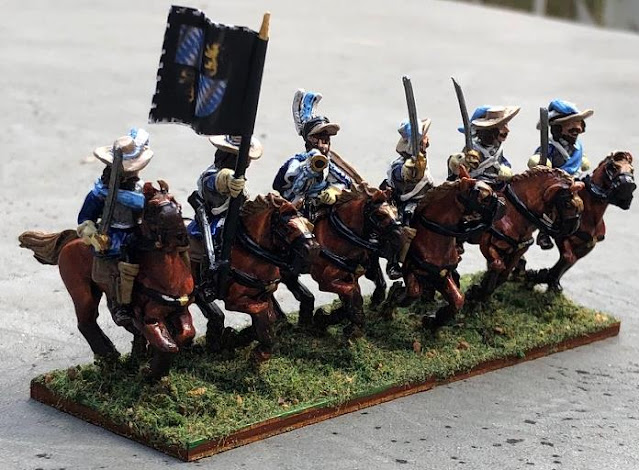
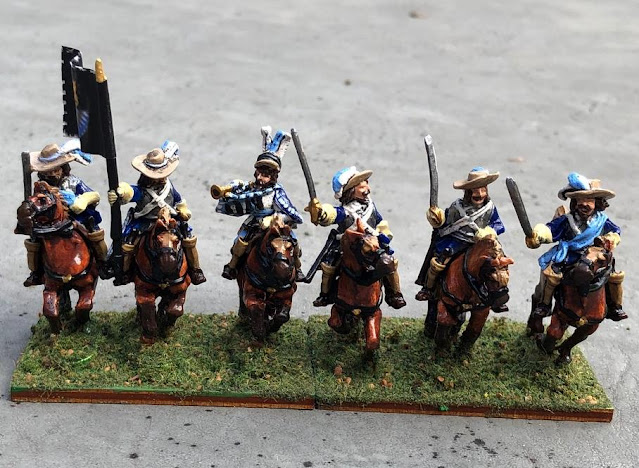
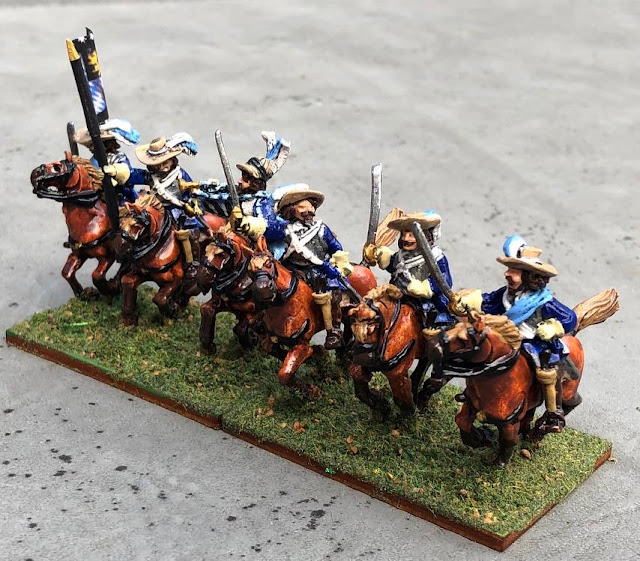
The Chevauleger figures are resurrected, replacing the Blochovitch Hussars!
The Artillery duel; note a third battery of French artillery, evidently detached by Napoleon from Serurier's forces besieging Mantua to support Augereau in his 2:1 battle. Despite repeated pleas, it was all the help the brave Augereau would receive on the day!
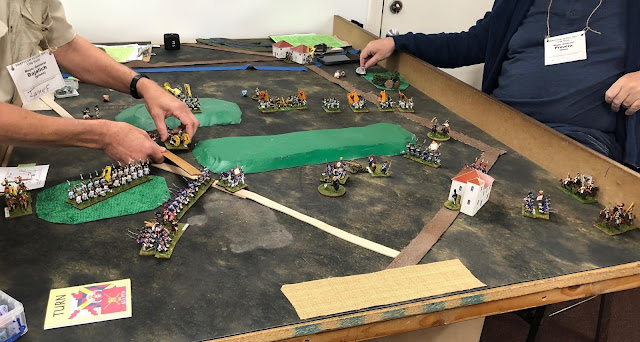
Bajalich continues his slow march to my Right.
The newly arrived French battery moves forward towards its firing position.
One of my infantry units is forced back by the intense French artillery barrage.
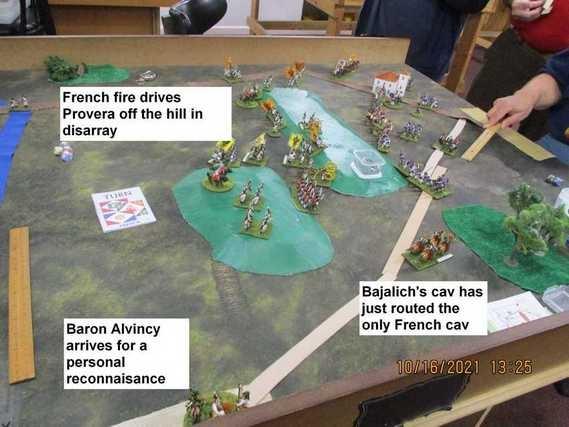
More of my infantry are driven back or destroyed by the hellacious fire of the French gunners! Meanwhile, our C-in-C, FML Alvincy, has ridden over to survey the situation for himself (lower right).
One of my batteries is eliminated by the French devil's cannonade!
However, Bajalich is arriving, and in a lucky charge (a timely double move!), his Hussars catch the withdrawing French Chasseurs in the rear (top middle ground).
Bajalich's Hussars are victorious, routing the Chasseurs, but my Division is now battered and severely outgunned.
I decide upon a strategic withdrawal to rally and regroup my forces.
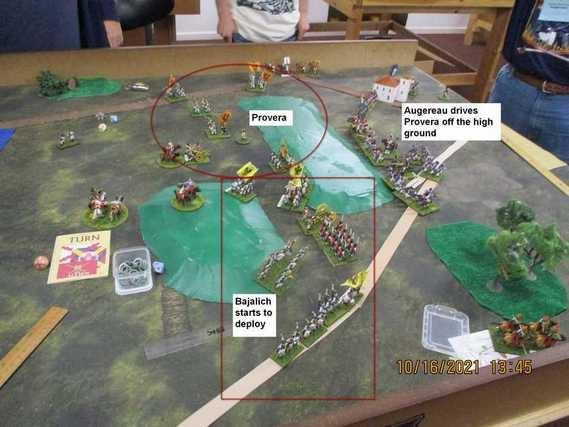
All three French batteries are now deployed; time for some reverse slope tactics!
As my troops pull back, Bajalich's men deploy on the French left.
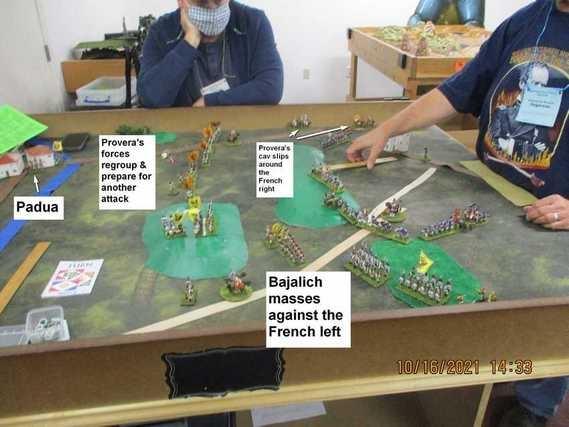
Augereau lacks sufficient troops to cover such a broad front, and has no cavalry at all. This allows Bajalich's Hussars to get behind the French Left flank.
Augereau pulls some of his infantry out of the front line to form squares to protect his flank and rear.
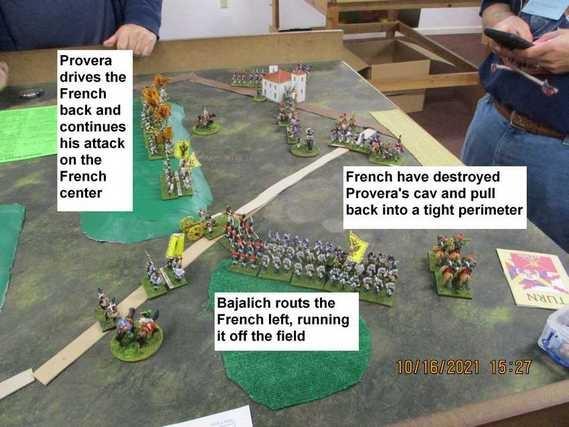
Augereau has advanced boldly, perhaps one might even say, rashly, climbing the ridge overlooking the village, known to locals as the Este Ladder. Seeing the pressure Bajalich is exerting upon the enemy, my troops complete their regrouping and prepare to advance upon the denuded French center.
Augereau curses that upstart, Buonoparte; he may have accomplished great things in Italy thus far, but with just a bit of support, he wouldn't have had to contend with two open flanks and a gaping hole in his center!
"The French, cannot be everywhere, my freind", I observe to Bajalich. We begin to tighten the noose on them, as my Cavalry start to sweep past the far French right.
Augereau begins to pull back, realizing a tighter defensive perimeter would be easier to defend. He may have waited a bit too long, however.
One of the French Batteries is finally knocked out, emboldening our infantry to advance.
Augereau repositions his men as best he can. (Withdrawing in the face of the enemy is difficult in Snappy Nappy, except when it it is involuntary!)
My brave men ascend Este's Ladder for the second time, and enjoy a view of a great many French derrieres!
A French rear guard attempts to delay Bajalich, and buy time for the rest of his forces to withdraw.
They are swiftly overwhelmed and put to flight! Augereau is now heavily outnumbered.
"A fine day for a parade!"
My light cavalry are in Augereau's rear, and he becomes understandably obsessed with eliminating them!

Meanwhile, my Dragoons find just enough real estate to skirt the edge of the French square, and charge the French Grenadiers in the flank!
The Grenadiers are puched back with losses, but not destroyed.
The French invite my Light Cavalry to Lunch?
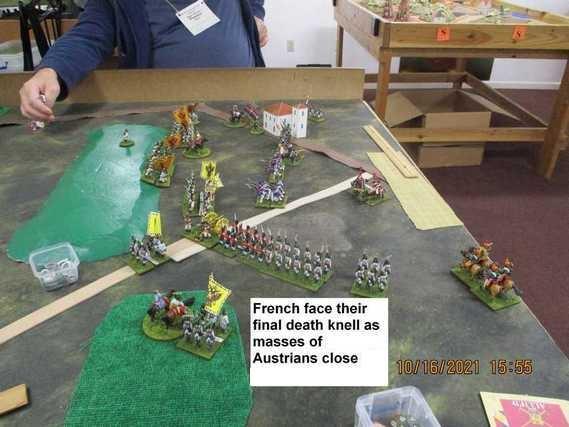
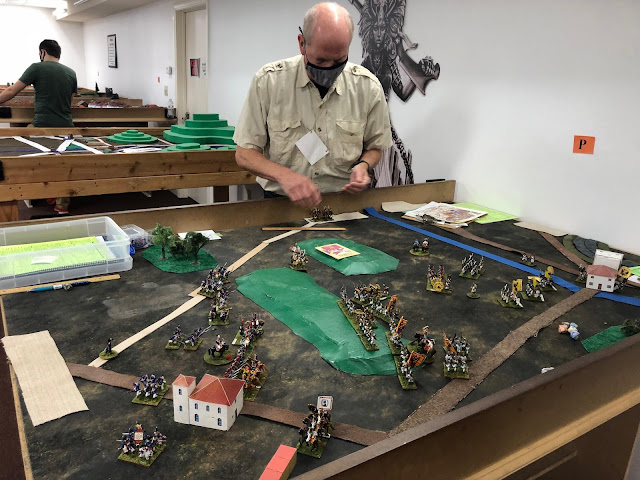
Overview of the final phases of the Battle of Este.
The French continue to contract their perimeter, as their command shrinks with each unit lost.
My light Cavalry are no more, but Bajalich's Hussars may be able to avenge them!
A bold charge by a French column upon Bajalich's infantry; they will need a lot of elan to prevail here!
Predictably, their desperate charge fails, and my boys seize the opportunity to charge the French Grenadiers in the rear!
How few remain!
Bajalich's Hussars in their rear, his infantry to their flank, and mine to his front. Augereau has fought a gallant battle, but, seemingly abandoned by his superiors, his position is all but hopeless now.
Sauve qui peut! Augereau surrenders.
Not long thereafter, I received word that elsewhere, our troops had broken through to Mantua, and that they would soon be forced to lift the siege, releasing General Wurmser and his much reduced, sickly garrison, just as they were on their last legs.