
Turn 2 began with the King winning the initiative roll by 7; needless to say, the Royalists opted to act first. The first card was MOVE ONE COMMAND; the laggard Horse and Dragoon command of Lord Wilmot was selected, and rolled up a "single magic" move.

This resulted in the Dragoons moving out of the hedgerows they had been sheltering behind, one unit of horse moving forward to within "MELLE" card range of the remaining unopposed Roundhead Horse, and the final unit of Horse charging the unloaded and severely battered Foote of Lord Brook.

With the Foot unloaded and thus unable to repel the charge by fire, and having lost 2 UI already, they were already at a considerable disadvantage. Being in Shot Forward formation, they are Down an additional 1die type, and the cavalry suffer no penalty, and, being Gallopers, get the Up 1 for initiating melee. Had the foot been in Pike Forward formation or Hedgehog, they would have no penalty and the Horse would be Down 2. Both units rolled fairly well, but the Horse inflicted 2 UI loss on their opponents, routing them.

This brought the unit to zero UI, and it was thus eliminated, and removed from the game. 2 Army Morale Points were of course also lost by Parliament in the process as well.

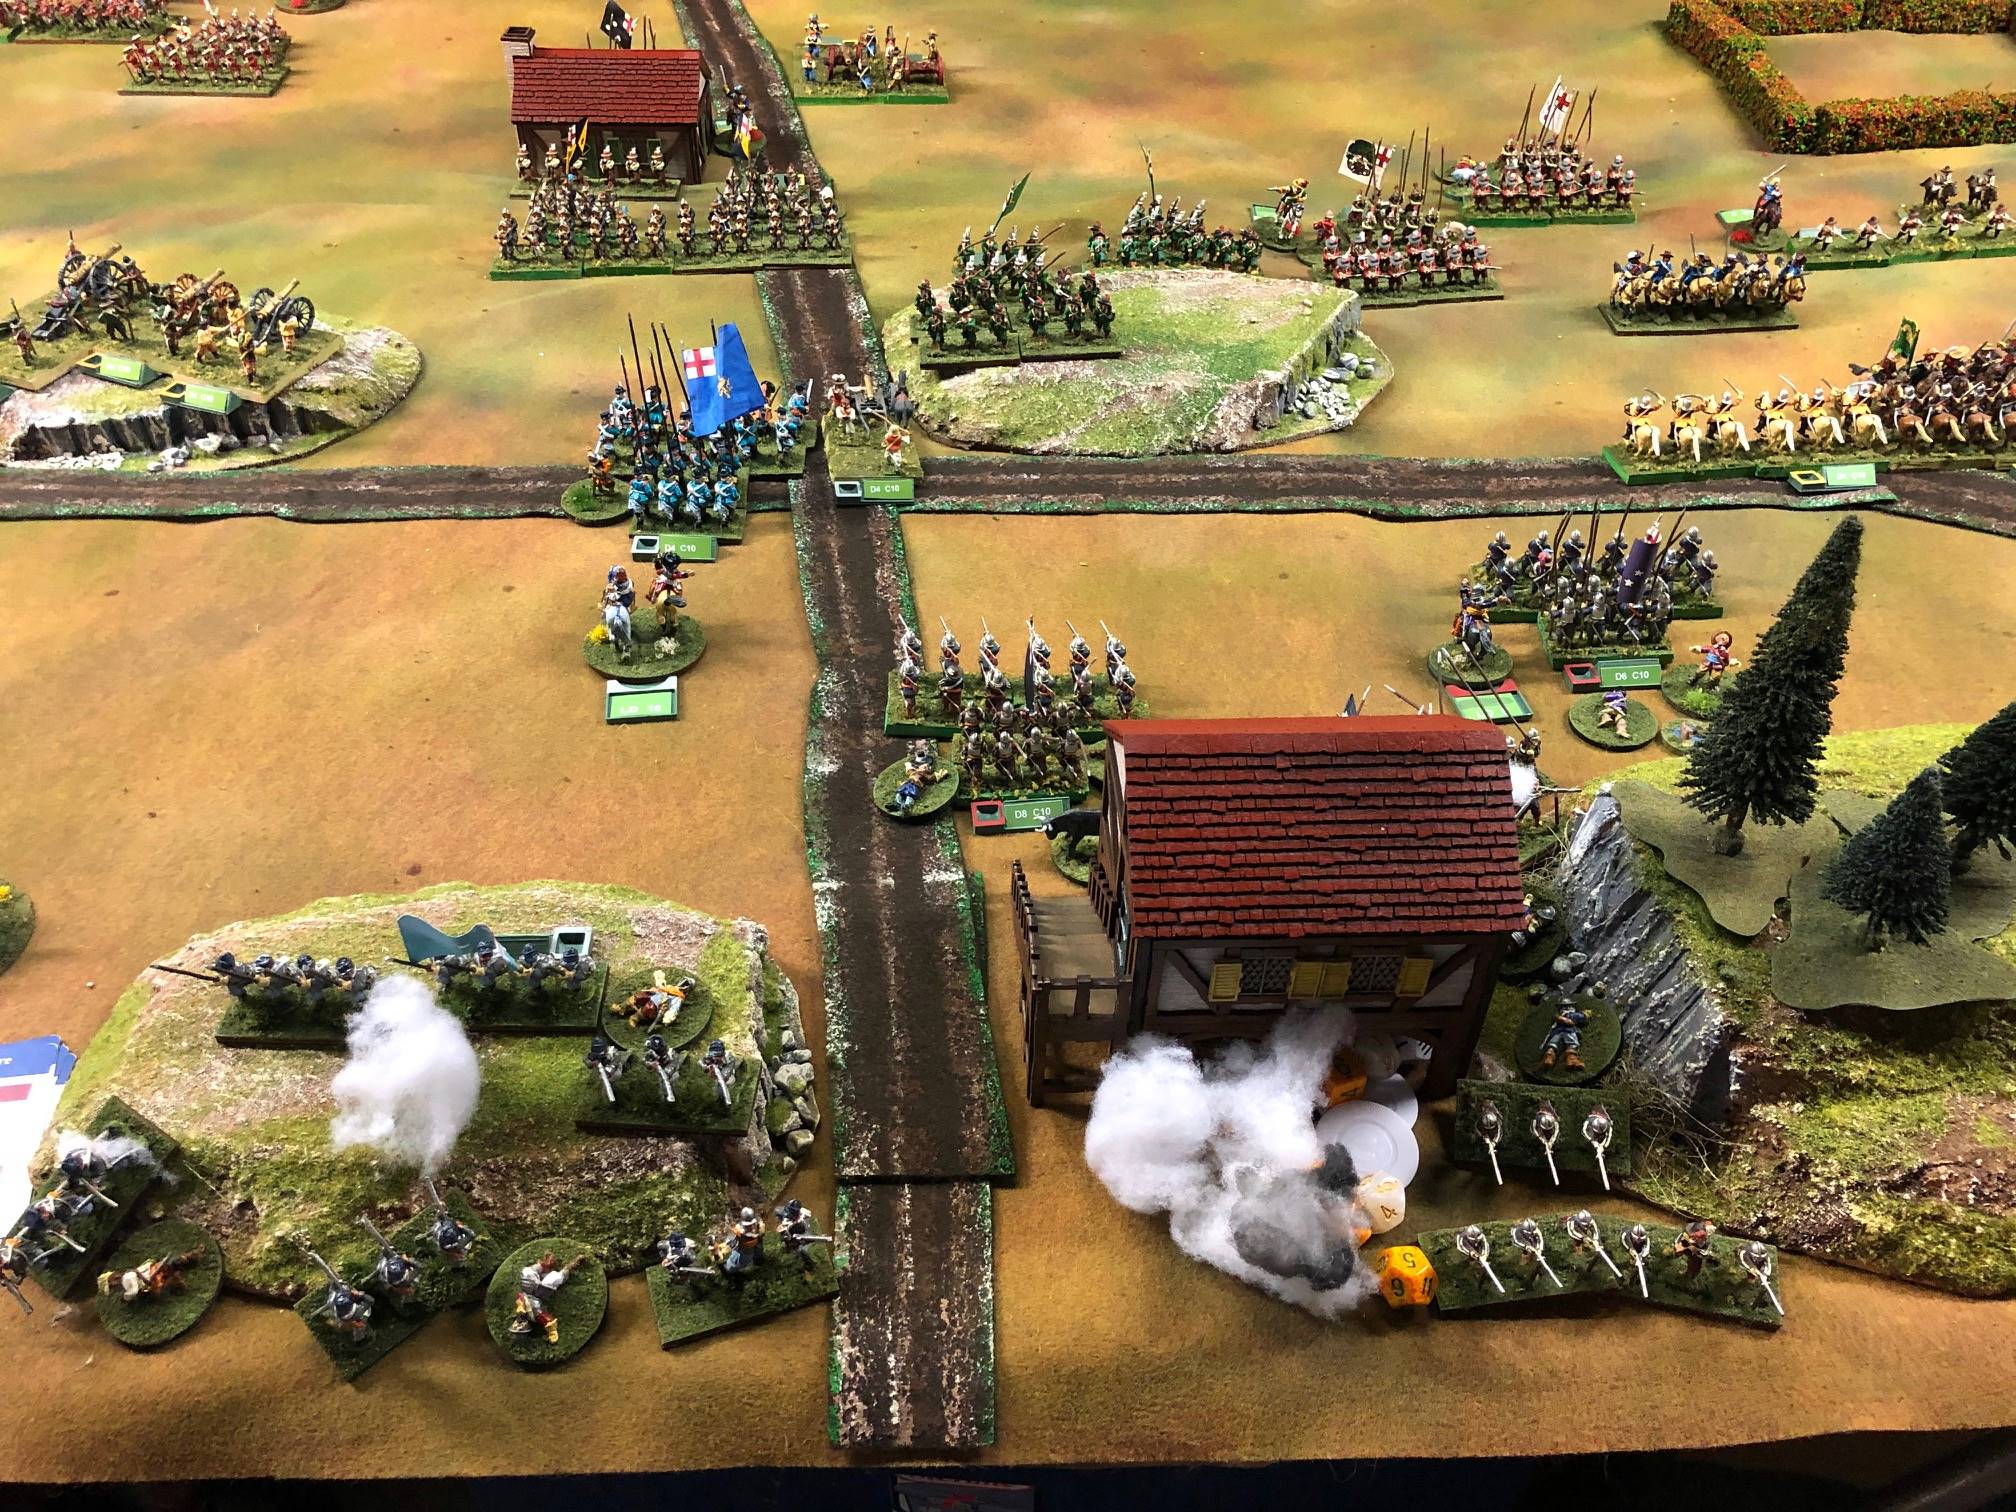
View of the Royalist left after the above.

The second Royalist card was LEADERSHIP. With many units Disordered and having lost UI, and with 2 routed units in danger of leaving the table, this should have been most useful. However, aside from recovering Disorder on this unit of cavalry, the other 9 rolls all failed to succeed, with not a single UI loss rallied off!

INFANTRY FIRE was the third Cavalier card; here some units without targets "reload".

Lucky rolling for D6 vs D6 shot, inflicting 1 UI loss and driving back the target in Disorder!

More reloading.

These 2 Raw, battered units were already loaded. They seriously debated the wisdom of shooting at the Trained Bands opposite them, given the discrepancy between both the combat and Defense dice, but in the end decided they were going to get shot at by them sooner or later; they might as well take the extra low probability chance to inflict some damage themselves... without success.

Not unexpectedly, the return fire was more effective. At least it was at long range, where the Trained Band could not issue Salvee fire!

The 4th Royalist card was ARTILLERY FIRE. Being loaded already, both batteries shell Essex's regiment, with but little effect. The 5th card was a LULL, with the King retaining the initiative.

The 6th card was another INFANTRY FIRE; The already loaded Earl of Norwich regiment managed to score a hit!

The return fire was ineffective.

Fitton's regiment of foot, having eschewed firing last time, pops off at the opposing trained Band, to no effect.

Once again, the return fire was more effective!

The 7th and final card of the Royalist initiative was another ARTILLERY FIRE; both batteries fired, inflicting some damage and driving Essex's regiment back. The other two Royalist batteries were screened by their own troops and had no valid targets.

Overview of the Parliamentary Left.
 Parliament kicks off their Initiative with a MOVE; They have plenty of Routers streaming to the rear in the Center.
Middleton's "White" brigade wins a single plain segment, and adjusts the positions of his troops.

A Triple magic move for Cromwell's "Black" brigade.

Charges ensue!

The two regiments charged are both Trotters, but their pistol fire fails to effect the result (they lost the DD vs DD toss). Although the Trotter effect is less dependable than that of the Gallopers, it applies both when charging and when attacked. Roundheads prevail in both cases, throwing their Cavalier opposition back in Disorder. Having rolled even, they "take the position" formerly occupied by the enemy horsemen.

A single move for General Mainwaring's "blue" brigade.

They use it to close the gap between themselves and the battered Royalist Foot.

A Double Magic Move for Skippon's "orange" brigade. It is used to advance Gratham's Browncoats and the greencoated Devonshire Halberdiers and their supports, while the 2 Essex regiments hang back to (hopefully) rally. Meanwhile, the Artillery atop the hill use the "magic to pivot to their right.

A single move by what is left of Lord Robarte's "grey" brigade is used to move Lord Saye and Selle's foot closer to the light battery for support.

Essex uses a Double move to pull back his battered regiments. Moving half speed, and half again for being disordered, 2 segments is but 3"!

Stapleton's "yellow" brigade is unable to take any action, having rolled a "1" for his LD roll!

A plain single move for Sir Luke's "green" brigade.

It is employed to improve the positions of his troops.

Parliament doesn't do any better at rallying their battered troops than the King did - Out of 10 attempts, only one succeeds and that merely remove's Disorder from one regiment of Horse. I have seldom seen a game of Field of Battle where so few rally attempts succeeded!

The third Parliamentary card is INFANTRY FIRE; the Dragoons shoot at their opposite number with effect, and then reload.

The Trained Bands reload and issue long range fire at the raw and rickety regiments of Fitton and Bard. For once, their shooting has little effect.

The remaining Parliamentary units with "smoke" markers reload. removing same. Note that units cannot "reload" while routed, however. The 4th Parliamentary card is ARMY MORALE. Every commander the army checks rolling a D12, but none rolls the dreaded "one"; thus none are hit.

The 5th card is INFANTRY FIRE. The Dragoons fire is slack, but still enough to drive back the opposing Dragoons in Disorder.

The Trained Bands inflict more losses on Bard's regiment.

The already "loaded" Dragoons take "free" pot shots at the Cavalier Horse, but fail to effect them noticeably.

The 6th card is MOVE; One Parliamentary regiment routs off the table in the Center...
with two more looking likely to join them afore long!

A plain single move for Middleton's "white brigade doesn't change the picture much.

Cromwell is evidently studying his King James Bible, and fails to spur his troopers on!

A plain single move for Mainwaring's "blue" brigade.

Mainwaring's men have advanced, with support from Grantham, and the Devonshire men of Skippon's command.

Lord Robarte calls for his Valet to remote the unsightly powder and blood stains from his attire.

A single segment for Essex's "red" brigade sees a further crawl to the rear.

A little Double magic for Stapleton's "yellow" brigade.

Many charges result, but both regiments of Trotters are unable to use their Pistols to advantage.

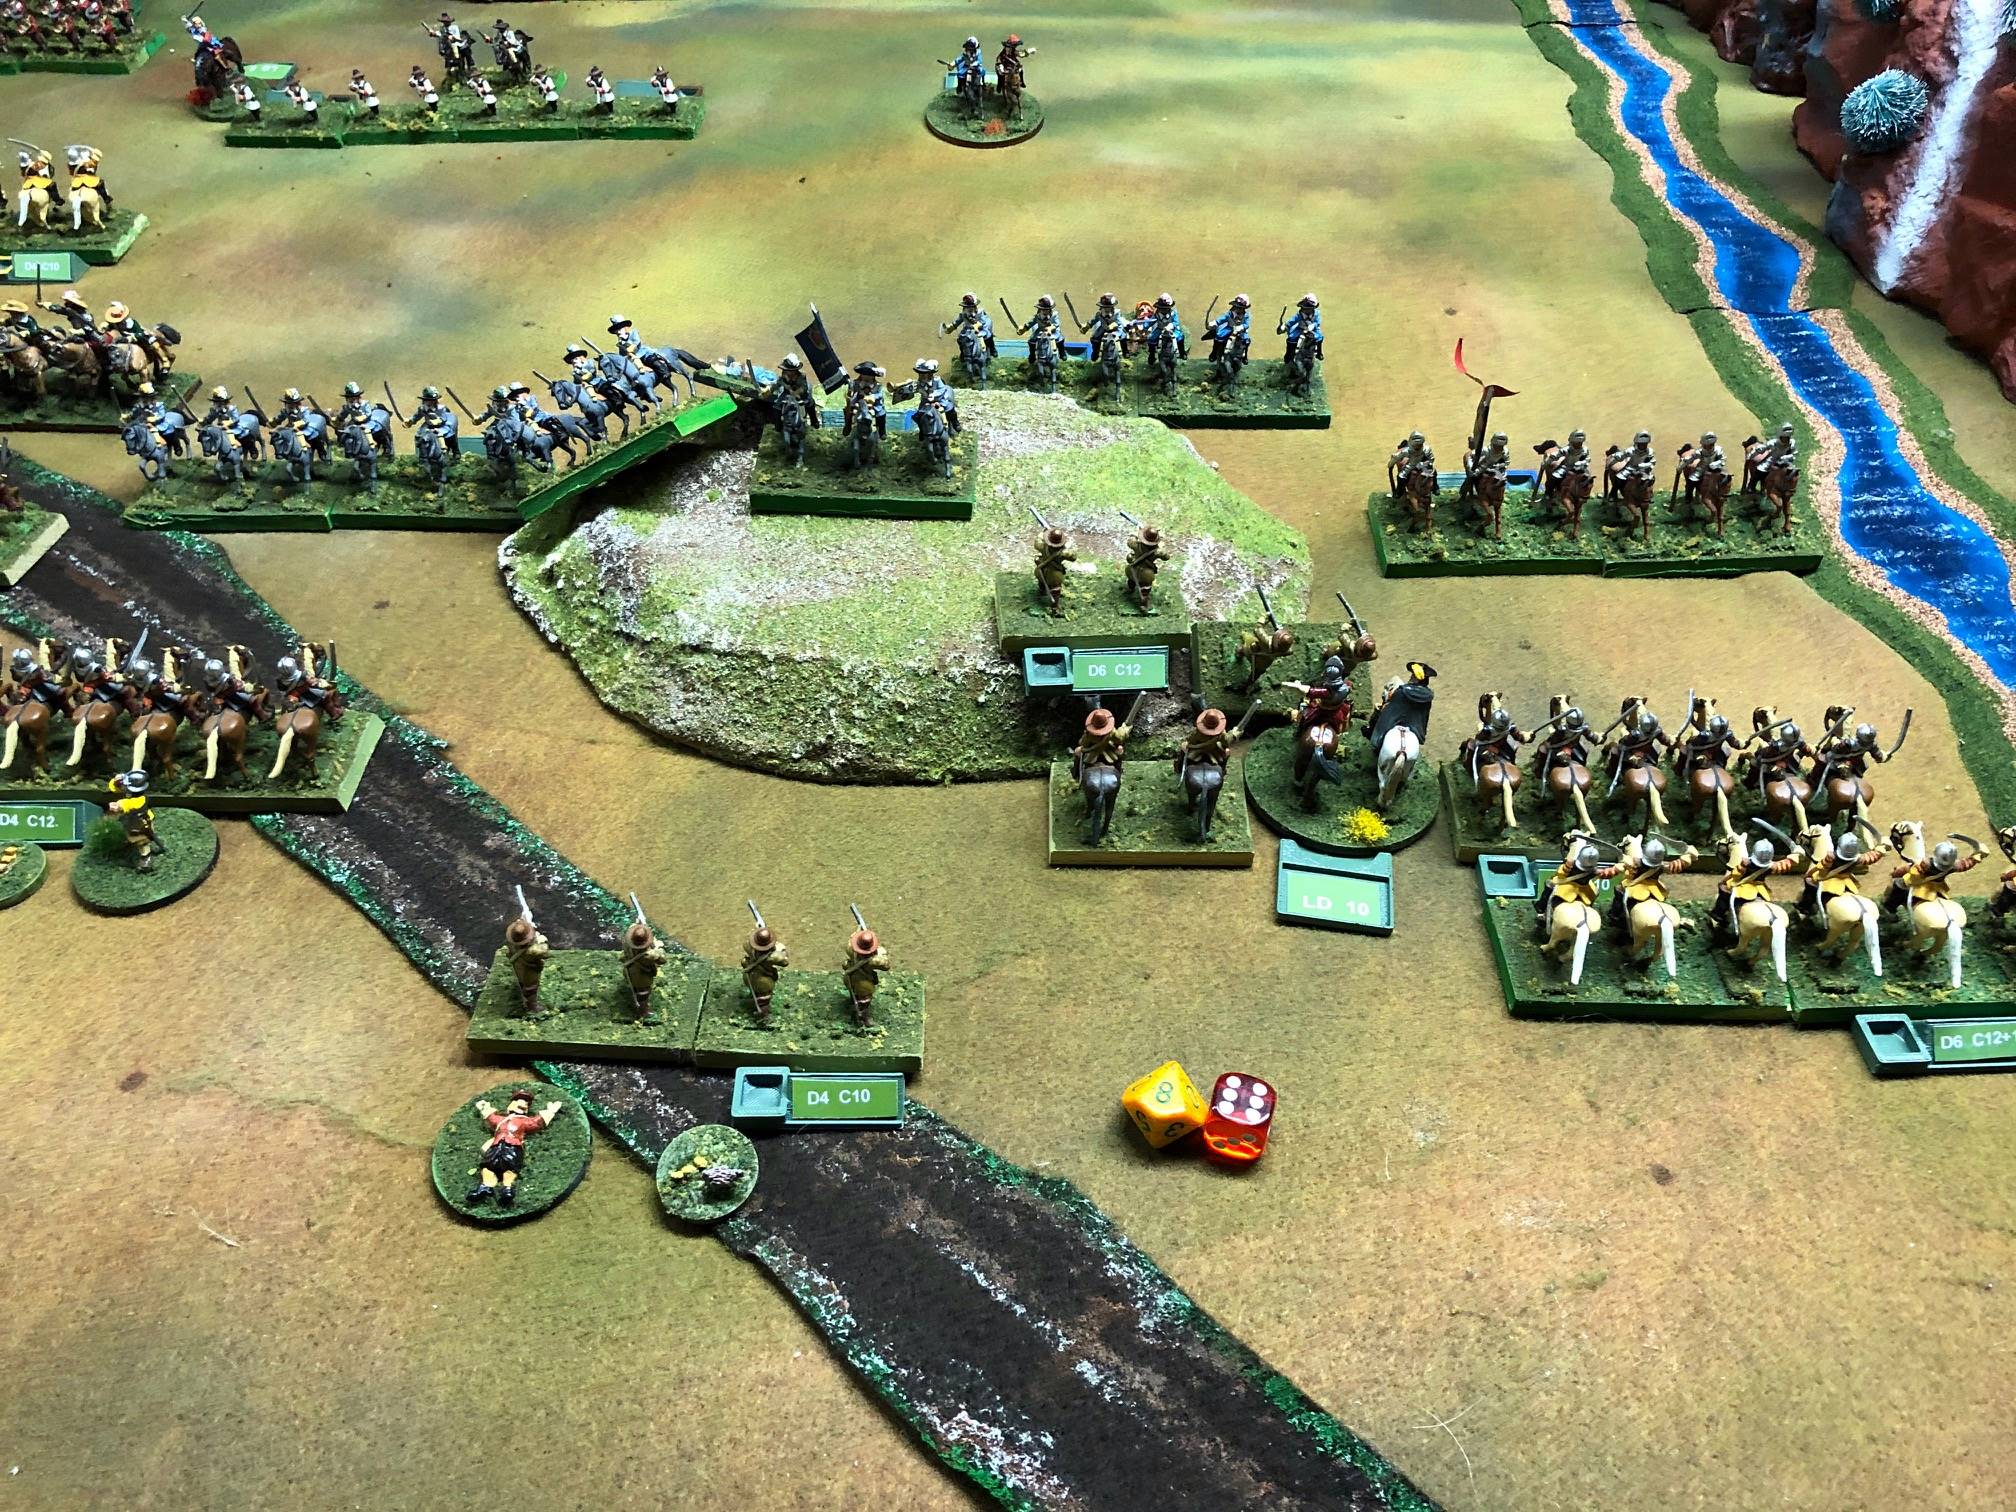
Popham's Gallopers crush Lord Byron's horse, routing them with the loss of 3 UI, although the clash throws Popham's troopers into Disorder themselves. The other two Roundhead charges are less successful; each is repulsed with loss.

Having reached zero UI, Byron's Horse is dispersed and removed from play.

Situation after the resolution of Stapleton's charges.
A double magic move for Sir Luke allows for some maneuver and a charge.

The charge fails with loss yet again. The 7th and final card of the initiative is a LULL; amazingly, the king fails to seize the initiative from Essex!

The next initiative roll is Tied (the King is rolling a D12+1). Turn 2 is over, and the decks must be reshuffled!

Overview of the Battle of Newbury at the end of Turn 2. Both armies right centers are in serious trouble!
What a nice looking game Peter, spectacular and beautiful pictures!
ReplyDeleteThank you, Phil!
DeleteGreat AAR and those the game has nice epic look.
ReplyDelete“I have seldom seen a game of Field of Battle where so few rally attempts succeeded! “
Welcome to my world !! :-)
Thanks, Gary. I don't think either side ever rallied off a UI loss. Of course the fact that ECW leaders have predominantly LD8 ratings doesn't help, but still.
DeleteWonderful looking game Peter and the colour of the troops involved is superb. I’ve always loved this period.
ReplyDeleteThanks, Carlo. My ECW armies are almost my oldest. It was the second period I collected (after Napoleonics), with the bulk of the "new" Minifigs painted in the mid 1970's. It only took 40 years to find a set of rules that I like for the period, and now I have two - Filed of battle, 3rd edition, and For King and Parliament!
DeleteGreat looking game and an epic battle, it seems like it could go either way!
ReplyDeleteBest Iain
Thanks for the kind words, Iain. Yes, the battle is definitely not decided at this point.
DeletePeter,
ReplyDeleteWhat sized table are you using?
Tim
I am using 6 feet wide by 12 feet long; the full table is 20 feet long, but the last 8 feet is piled with junk (hence the "mountains " to hide same), and honestly, I have never used more than the 12 feet of length for actual tabletop gaming space. A side table at one end or the other is quite useful, though, for holding gaming paraphernalia, reserves, casualties, etc.
DeleteI know you have the big move coming up, and enough room in the basement for a sizeable table now. :-)
Epic
ReplyDeleteGlad you enjoyed it!
DeleteI'm liking the look of these rules and may have to invest in them alongside FK&P, which arrived a couple of weeks ago. If you were pushed, which one would you say you would prefer as a default set? From your AARs FoB with card activation seems to me suitable for a quick pick-up game with the fun and frustration that card activation provides, with FK&P being a little less variable.
ReplyDeleteThey are different strokes for different folks, as they say. FK&P, not surprisingly, being a dedicated set, has a bit stronger period :"feel", not surprisingly. They both have similar playing time with sufficient players, I'd say. FK&P requires the grid and a lot of markers. Overall I'd give the edge to FK&P, especially for those not already familiar with FoB. . If there is a Historicon this year, I'm considering running this battle with both rules sets, though!
DeleteA compare/contrast was a point I am interested in too. I think I will stick to FK&P.
DeleteLike I said, different approaches, both quite viable. If you're already familiar with TTS!, then FK&P makes more sense. Conversely, if you're well versed in FoB, you need only learn a small number of period rules beyond what you know already. I am quite impressed the FoB3 ECW rules worked as well as they do!
DeleteWhoah! Spectacular ECW gaming, Peter! Very, very impressive and inspiring.
ReplyDeleteThanks, Dean. Your forces are already sufficient to put some ECW games on the table yourself.
DeleteAs others have noted before me, this is an epic looking battle, Peter. So many colorful troops and an interesting narrative. How long did this one turn take to complete?
ReplyDeleteThis was a pretty abreviated turn, and it takes about twice as long as FFTF, with the need to take pictures, record many other things that aren't used in the AAR, change from side to side of the table, etc. Overall, I'd say this took about 2 hours to play out, son probably about an hour if FTF with players familiar with the rules. Ideally, a scenario this large would have 2-4 players a side.
DeleteThat seems like a fast play time for all of the action.
DeleteFoB plays quite quickly once you're familiar with it, especially if each player has 2-3 commands. The players can all act simultaneously. I've taught many gamers to play at convention games, and they usually pick up the concepts rapidly.
DeleteWhat an interesting read. It looks as though FoB3 works for the ECW.
ReplyDeleteI was pleasantly surprised by well it did suit ECW battles!
Delete