

"Well, we'll just have to sort ourselves right tickety-boo, eh men?"

"Little" John Boulters, commanding the Cavaliers, has his men nicely deployed. He rubs his hands with glee at the prospect of exploiting the discomfiture of his enemy. But should he hold in his strong position behind the hedgerows, or carry the battle directly to the foe?

Moving first, the Cavaliers move up their cavalry, and stand put with their infantry and artillery.

The Roundheads move their lead units off to their Left, expanding their lines, whilst the following units advance down Whyteladyes Lane. Their Dutch style horse position themselves behind some conveniently placed hedgerows, hoping to blunt the impetus of the inevitable charges by their Swedish style Cavalier counterparts.

The Royalist Horse move up on the left, whilst the remainder of their Horse pause for a little nip (turned an Ace on a Group Move). Their Foote and Gunnes stand pat.

Sir Christopher's men continue to advance and spread out, thankful that the Royalist Foote is awaiting events so far. Their Horse is in position, and their field guns are being drawn into a suitable firing position.

Positions after another pair of moves by the forces of both King and Parliament. Note the Scots Foote faced to the Right. The Royalist Foote continue to mark time...

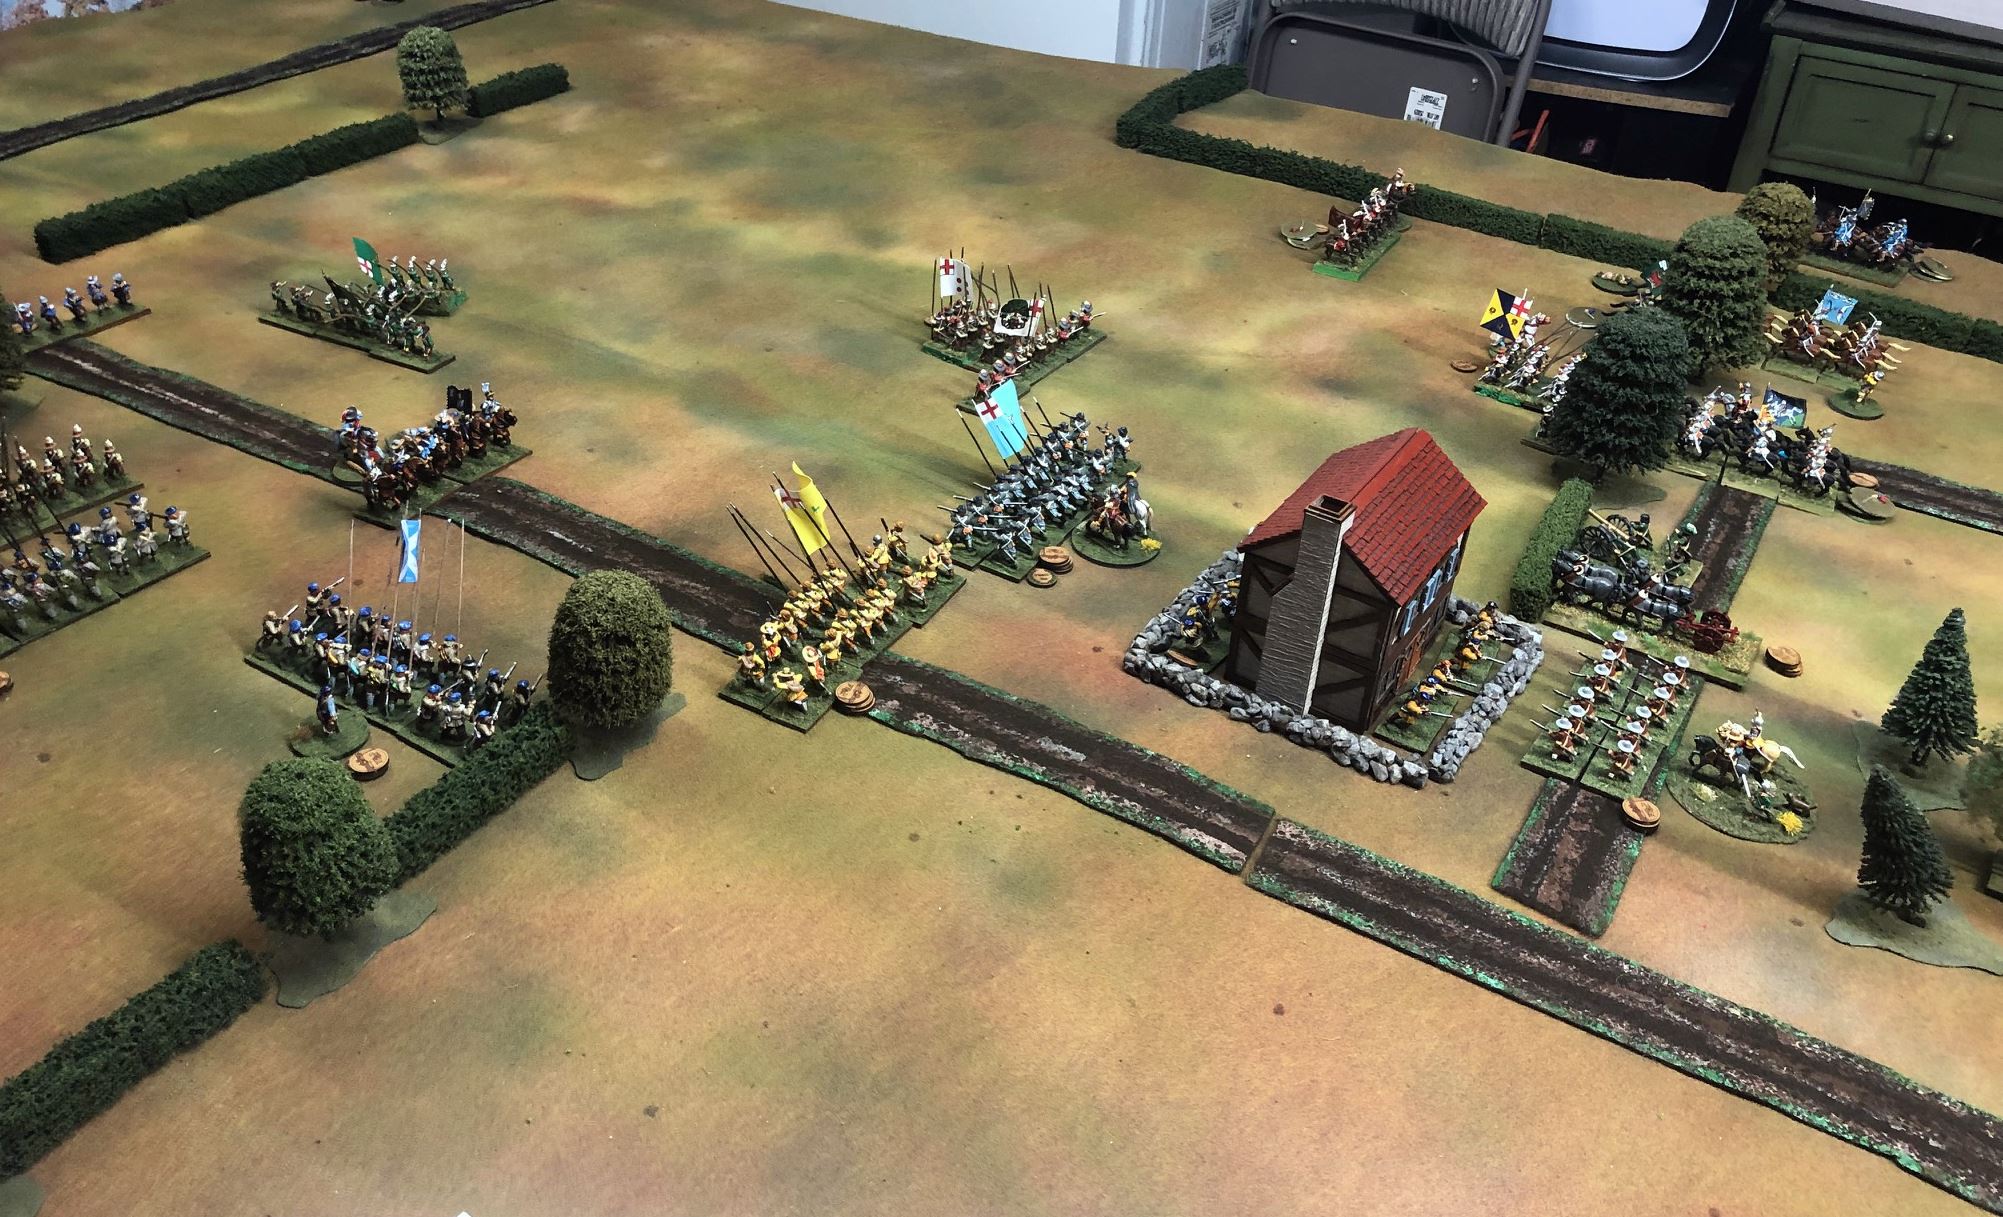
View from the Roundhead side.

Royalist cavalry hops the hedge on the far right, as the Cavalier Horse advance on their left and right center. In the center, the Royalist Foote engages in some Hedge hopping of their own, advancing upon the enemy at least. It is said that Hedge hopping is now all the rage in Oxford Town!

Tghe roundheads make some further adjustments to their deployment, and their Field gunnes open fire, actually managing to score a hit on the lead Royalist Horse regiment!
.jpg)
Further advance by all but the right flank Cavalier Infantry brigade.

The parliamentary Horse awaits the onslaught of the opposing troopers grimly, whilst the gunnes fire inefectively, and both infantry commands pause for a Tea break (Aces turned).

On their far left, the Cavalier horse charge home. For once, the defensive fire of the Dutch Horse's pistols manages to score a hit, disordering the target!

Although the charging Cavaliers play 5 hit cards, being disordered, they require a 9 or 10 to hit, and can amange only one, which the Roundhead horse fails to save. However, they mange a hit of their own in the battle back, and with a failed save, the Royalist Horse disperses! The remaining Roundhead cavalry breathes a sigh of relief, their flank, for the moment, secure.

In the right center, another unit of cavalier cavalry charges into a Scots Battaglia. They too suffer a hit from defensive fire, and despite playing 5 cards, only manage a single hit on the infantry after saves.

The right centre is a cacophonous Concerto Grosso of thundering hooves, pistol and musket fire, and clashing swords. By the time it is over, One regular and one small unit of cavalier Horse was destroyed, but the final unit's charge prevailed, and the brave Scots were at last dispersed to the four winds! Sir Derek Derrick is seem above with the remaining Horse under his command, having lead no less than 4 charges with three different units.

Not to be left out, the Royalist Foote of the right flank Brigade engage in some hedge hoping of their own, pinning the green flag Scots in position, whilst the Green Battaglia turns to its right in an effort to capitalize on the fruits of Sir Derek's exertions.
The White and Blue Royalist Foote Battaglia have pushed forward boldly, some might even say rashly...

Sir Christopher and his Roundheads are ready with their reply. Seeing an open flank, the Light Blue Parliamentary Battaglia advances swiftly, spurred on by their General, but falls just short. The Highlanders on the far left launch a wild charge, shooting their muskets as they close. The opposing commanded shot are unimpressed, and the attack come to naught. Bearing the Bonnie Blue Blanket before them, a Scots attacks Sir Derek and his men; skewered, they fall like dominoes, the Horse routed and Sir Derek stuck unconscious and though dead! The Grey and Black Battaglia exchange mutually ineffective close range volleys.

Hedging their bets, the veteran White Horse pull back from the approach of the Blue Battaglia, whilst the Yellow Battaflia, urged on by Sir Christopher himself, faces right, threatening the flanks of the cavaliers. The gunnes fire several times, but are unable to replicate their previous success!

The Royalist counter by the Green Battaglia turning to face the impending flank attack, and facing the White Battaglia to its right, establishing it own flank threat! The three units on the right engage in combat without discernable results yet again. A Cavalier Forlorn Hope changes into the flank of the Scots, but their numbers are too small to have much effect.

On the far left, more Royalist Hedge Hopping! The grey Horse figure that between the effects of the hedge and the losses inflicted by the gunnes earlier, they should be bale to hold off the cavalier attack. That remains to be seen...

Parlaiment seizes the initiative, and this time the Green flagged Scots overpower the Black Foote to their front, and the Blue flagged Scots turn to face the gnats attacking their flank!

Eerging from the farmstead where they had been sheltering (? reveling) all day thus far, a band of wild Highland clansmen surge forth and gain the flank of the White Battaglia. Uh-oh!

The brown coated commanded shot happily ensconce themselves in the aforementioned complex, looking forwards to a nice chicken dinner! The Cavliers destroy the right flank unit of Roundhead Horse, leading the two remaining units to withdraw further from the Cavalier onslaught. The gunnes fire point blank at the Blue Battaglia, but once again without effect,TYhe vaunted Highland charge is launced into the flank of the White Foote, but the attack is repulsed (8 hit cards, anyand all hits saved by the target!) Hoot man!

Situation on the Royalist right and centre.

With yet some more Royalist Hedge Hopping, the Grey Cavalerie are destroyed!

In the centre, the Green and Light Blue Battaglia exchange blows to limited effect, but Talbots Foote (white flag with 3 Talbot Hounds) faces to flanks the green flagged Scots.

The remaining unit of Roundhead Horse gains the flank of its cavalier opposition, but is unable charge home! The gunnes take a final point blank shot at the Blue Foote, and fail to impact them yet again... time to get out of Dorchester!

Situation on the Royalist right and centre, as a lull descends upon the battlefield (some inopportune Aces!)

Feeling left out of the Hedge Hopping craze, the Blue Foote give in to the (by now irresistible) urge! A charge by the Cavlier red horse fails to accomplish anything (their horse being blown), but the buff coated horse move to threaten the flank of the Whitecoated Roundhead troopers.

The Royalist Whitecoated Foote pull back from the trap, but the flank attack by Talbot's Foote fizzles spectacularly!

On the Parliamentary Turn, the blue flagged Scots cut down the Forlorn Hope at last, and the Highlanders, lead by Sir Christopher himself, adroitly shift to their right and charge the Whitecoated Battaglia in the flank again. This time they are more successful, and the enemy breaks and runs.

Situation on the far Royalist left. With the loss of the Forlorn Hope, the Battaglia and also the brigade's Colonel, "Little" John Boulters had no choice but to concede the day, and extricate his men from combat. "There will be another day, and yet another field, ere long!"
Game note: The Royalists lost all 18 of their Victory Medals, while the Parliamentarians had lost 9 of their original 17. John (playing as Little John, appropriately), had terrible luck with his hit cards, several potentially devastating attacks coming to naught. The added loss of 2 commanders pushed the Cavaliers to the breaking point. We both agreed it was an interesting and well baalanc3ed scenario, and well worth a future replay!
Music for Hedge Hopping...
The blue shotte proved especially resiliant. Poor John couldn't land a hit. A very enjoyable AAR and game.
ReplyDeleteThanks, Lawrence. John had terrible luck with his hit cards all game!
DeleteGreat sounding and looking AAR!
ReplyDeleteBest Iain
Glad you enjoyed it, Iain!
DeleteWhat a wonderful game of FK&P Peter, and a tale most excellently told, withall! Being a partisan to the ECW, I sighed with relief at the eventual outcome....there seemed to be a few scares along the way, though...a closer game than the final score indicated!
ReplyDeleteMid game I was pretty convinced John was going to win!
DeleteGreat looking game, Jon deserves a rematch-------with a fresh deck of cards!
ReplyDeleteThanks, Joe. Yeah, a change from the red deck to the purple or green, methinks!
DeleteGreat AAR and the figures dont look half bad
ReplyDeleteHah! Thank you, Gary!
DeleteI would play this scenario again. Extremely well balanced and just the right amount of troop formations to make manouvering fairly easy. My card deck, however, did appear to contain about three dozen aces!!!
ReplyDeleteYou didn't do too badly with Aces for activations, although there were few for sure; hit cards... an awful lot that were NOT the 8's, 9's, or 10's required!
DeleteWill the Hedge Hopping Craze catch on? Fine looking game but, my, John could rarely salvage a hit. Armies look grand, Peter. How large was your table for this one!
ReplyDeleteThanks, Jon. The table was 6 feet wide (9 x 8" boxes) and 8 feet the long way (12 x 8" boxes).
Delete