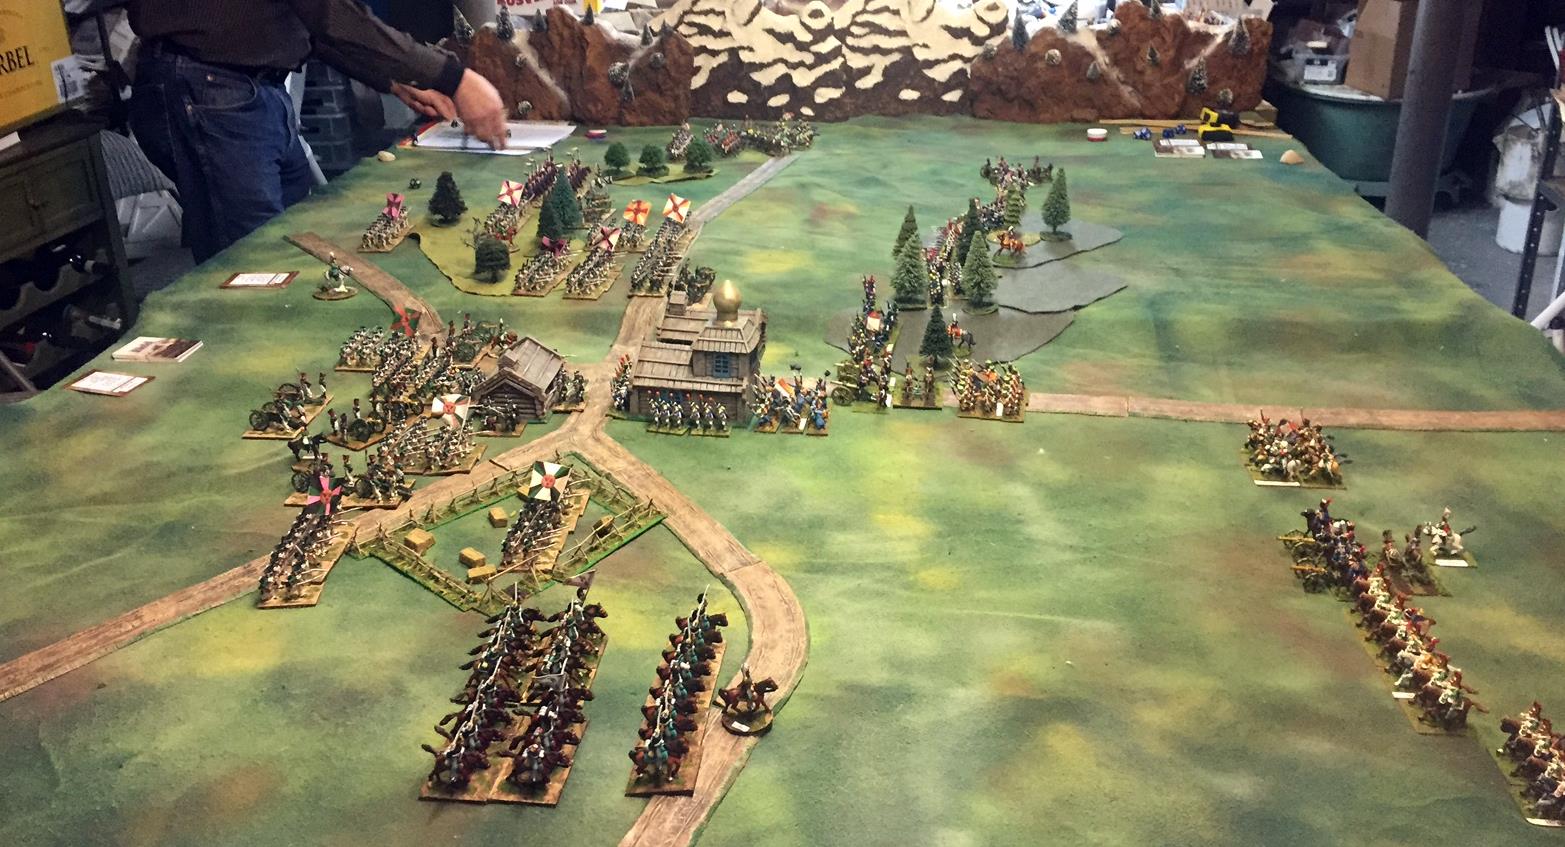
Yesterday Jared and I ran a game of To the Strongest! for his middle school game club in Tarrytown, NY, using my 25/28 mm Punic Wars collection. Here's view of the opening setup. The Table was made up of a phalanx if school desks, 3 wide by about 10 long... and it worked fine, giving a playing area 4.5 feet wide x 12 feet long.

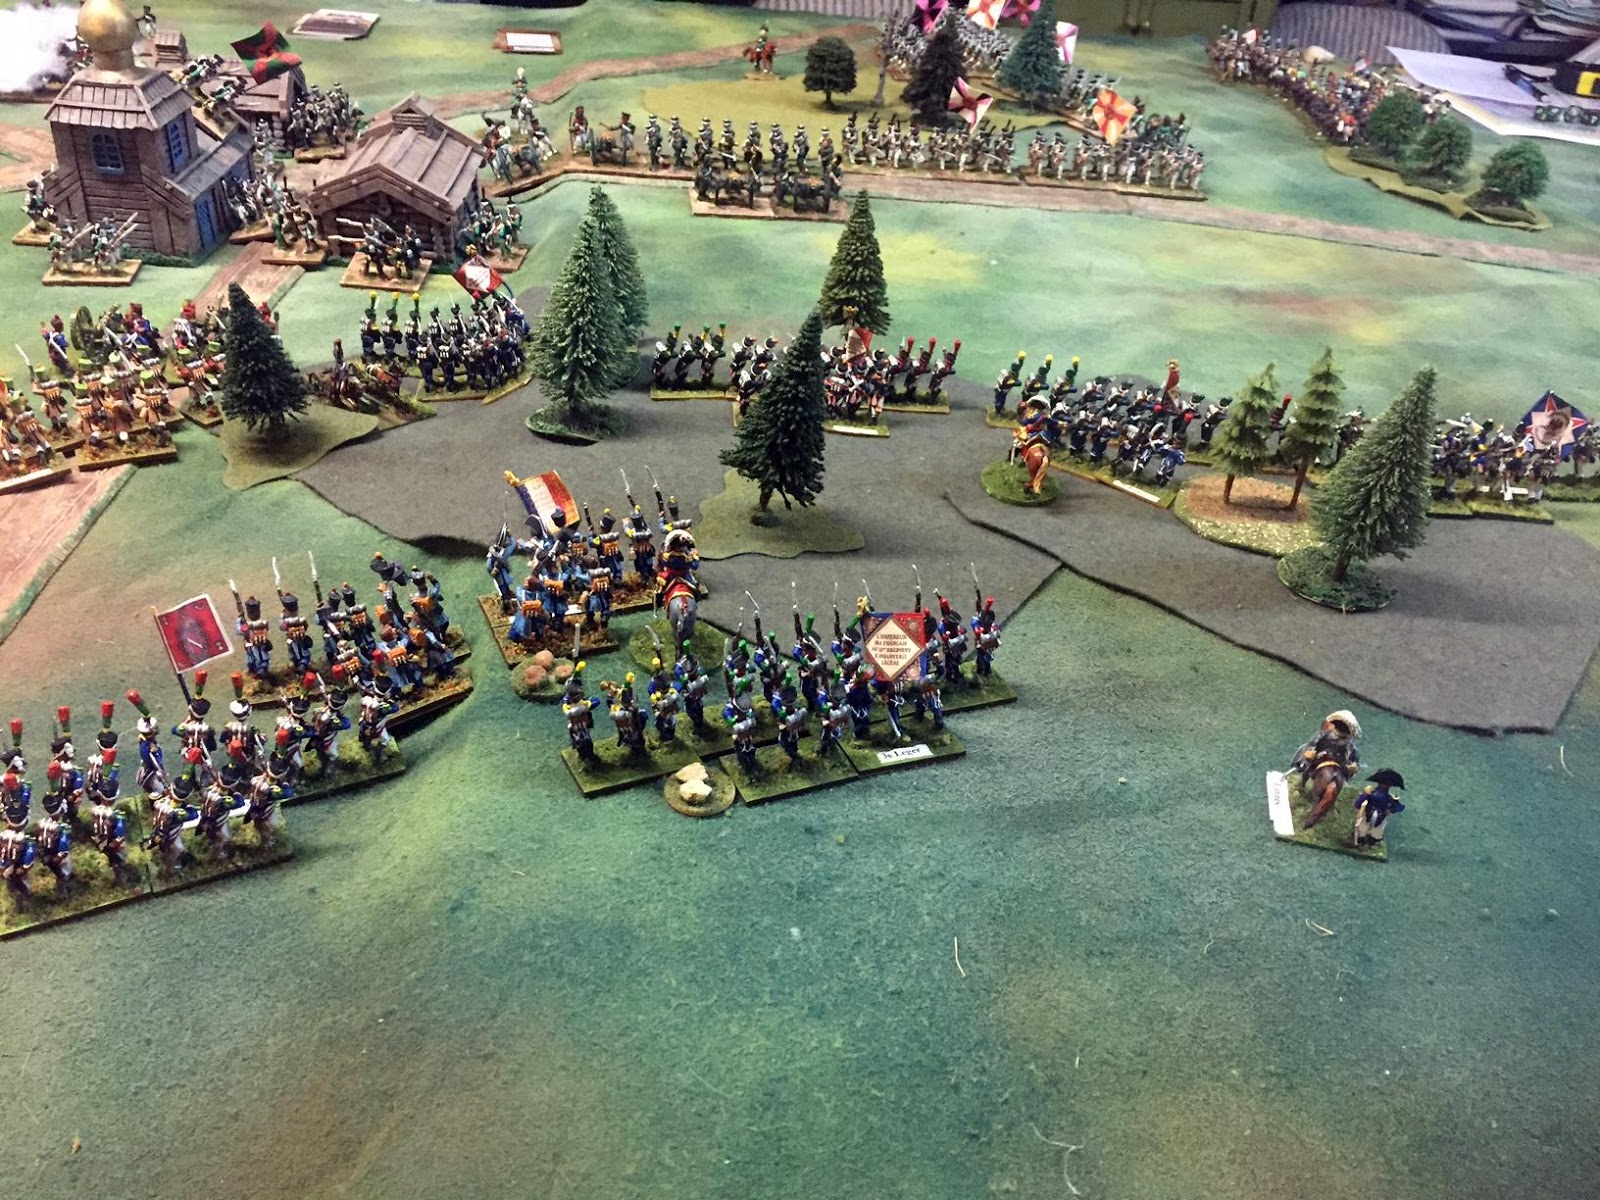
Unfortunately, I didn't take many pictures. The action was hot an heavy, and Jared and I were very busy assisting the players with the game. The school policy prohibits posting pictures of students without explicit permission (sadly, understandable now days). This shot is from the 'South' at lunch break, about halfway through the game.

The same, seen from the North. The students picked up the game very quickly. I intentionally ignored the moral check rule for lost non-light units, as the game plays fine without it, and it's best to keep it simple on a first go! Everyone seemed to enjoy the rules (I really have yet to have anyone ever dislike To the strongest, even if it might not be their favorite set). We had to call the game after about 3 hours of play, just as the infantry would have been getting more heavily engaged, and at that point the Romans had the edges, with 17 out of 27 Victory Medals remaining, as opposed to 15 out of 28 remaining for the Carthaginians.
The students were great to work with, and I think every one thanked me at least twice for running the game. I was also able to deliver the Wizard Kraft river set to add to their terrain collection, plus some surplus books to add to Jared's library.
Battle of Oppidum Commorari
CARTHAGE (North to South)
CMD
|
LATER Description
|
Save
|
Spec/Ammo
|
Pts
|
VM
|
1
|
Left Flank Cavalry - Hatti
| ||||
1
|
General, Mounted, Detached - Maharbal
|
2+
|
Replay
|
5
|
2
|
1
|
Libyan/Phoenician Cavalry, Javelin, Veteran
|
6+
|
3
|
11
|
2
|
1
|
Libyan/Phoenician Cavalry, Javelin, Veteran
|
6+
|
3
|
11
|
2
|
1
|
Spanish Cavalry, Javelin
|
7+
|
2
|
9
|
2
|
1
|
Spanish Cavalry, Javelin
|
7+
|
2
|
9
|
2
|
1
|
Numidian Light Cavalry, Javelin, Veteran
|
6+
|
3
|
6
|
1
|
1
|
Numidian Light Cavalry, Javelin, Veteran
|
6+
|
3
|
6
|
1
|
1
|
Spanish Light Cavalry, Javelin
|
7+
|
2
|
5
|
1
|
CMD
|
Description
|
Save
|
Spec/Ammo
|
Pts
|
VM
|
2
|
Infantry Group A - Catherine
| ||||
2
|
General, attached - Hanno
|
2+
|
Replay
|
4
|
2
|
2
|
Libyan Spearmen, Deep, Veteran
|
6+
|
9
|
2
| |
2
|
Libyan Spearmen, Deep, Veteran
|
6+
|
9
|
2
| |
2
|
Balearic Slingers, Lt Inf, Sling, Veteran
|
7+
|
3
|
5
|
1
|
2
|
Balearic Slingers, Lt Inf, Sling, Veteran
|
7+
|
3
|
5
|
1
|
2
|
African Javelinmen, Lt Inf, Javelin
|
7+
|
3
|
4
|
1
|
2
|
African Javelinmen, Lt Inf, Javelin
|
7+
|
3
|
4
|
1
|
2
|
African Elephant
|
7+
|
Shock, Spec vs Cavalry, Rampage
|
6
|
1
|
2
|
Camp
|
1
|
3
|
CMD
|
Description
|
Save
|
Spec/Ammo
|
Pts
|
VM
|
3
|
Infantry Group B - Thomas
| ||||
3
|
General, attached, Heroic Virdomanus
|
3+
|
Replay
|
5
|
2
|
3
|
Gallic Warriors - Deep, Veteran
|
6+
|
Hero
|
14
|
3
|
3
|
Gallic Warriors - Deep
|
7+
|
Hero
|
11
|
3
|
3
|
Gallic Warriors - Deep
|
7+
|
Hero
|
11
|
3
|
3
|
Javelinmen, Lt Inf, Javelin
|
7+
|
3
|
4
|
1
|
3
|
Javelinmen, Lt Inf, Javelin
|
7+
|
3
|
4
|
1
|
3
|
Camp
|
1
|
3
|
CMD
|
Description
|
Save
|
Spec/Ammo
|
Pts
|
VM
|
4
|
Infantry Group C - Lucas
| ||||
4
|
General, detached, Heroic - Gisgo
|
3+
|
Replay
|
6
|
2
|
4
|
Spanish Scutarii, Javelin, Veteran
|
6+
|
2 + pila
|
9
|
2
|
4
|
Spanish Scutarii, Javelin, Veteran
|
6+
|
2 + pila
|
9
|
2
|
4
|
Spanish Scutarii, Javelin, Veteran
|
6+
|
2 + pila
|
9
|
2
|
4
|
Spanish Javelinmen, Lt Inf, Javelin
|
7+
|
3
|
4
|
1
|
4
|
Spanish Javelinmen, Lt Inf, Javelin
|
7+
|
3
|
4
|
1
|
4
|
Spanish Javelinmen, Lt Inf, Javelin
|
7+
|
3
|
4
|
1
|
4
|
Camp
|
1
|
3
|
CMD
|
Description
|
Save
|
Spec/Ammo
|
Pts
|
VM
|
C
|
Commander in Chief - Hannibal Barca
| ||||
C
|
General, Senior, Detached, Heroic, Brilliant
|
3+
|
Replay, Mv 3
|
12
|
2
|
CMD
|
Description
|
Save
|
Spec/Ammo
|
Pts
|
VM
|
5
|
Infantry Group D - Lucas/Carter
| ||||
5
|
General, attached - Mago Barca
|
2+
|
Replay
|
4
|
2
|
5
|
Libyan Spearmen, Deep, Veteran
|
6+
|
9
|
2
| |
5
|
Libyan Spearmen, Deep, Veteran
|
6+
|
9
|
2
| |
5
|
Balearic Slingers, Lt Inf, Sling, Veteran
|
7+
|
3
|
5
|
1
|
5
|
Balearic Slingers, Lt Inf, Sling, Veteran
|
7+
|
3
|
5
|
1
|
5
|
African Javelinmen, Lt Inf, Javelin
|
7+
|
3
|
4
|
1
|
5
|
African Javelinmen, Lt Inf, Javelin
|
7+
|
3
|
4
|
1
|
5
|
African Elephant
|
7+
|
Shock, Spec vs Cavalry, Rampage
|
6
|
1
|
5
|
Camp
|
1
|
3
|
CMD
|
Description
|
Save
|
Spec/Ammo
|
Pts
|
VM
|
6
|
Right Flank Cavalry - Carter
| ||||
6
|
General, Mounted, Detached Hasdrubal Barca
|
2+
|
Replay
|
5
|
2
|
6
|
Libyan/Phoenician Cavalry, Javelin, Veteran
|
6+
|
3
|
11
|
2
|
6
|
Libyan/Phoenician Cavalry, Javelin, Veteran
|
6+
|
3
|
11
|
2
|
6
|
Gallic Cavalry, Javelin
|
7+
|
2
|
9
|
2
|
6
|
Gallic Cavalry, Javelin
|
7+
|
2
|
9
|
2
|
6
|
Numidian Light Cavalry, Javelin, Veteran
|
6+
|
3
|
6
|
1
|
6
|
Numidian Light Cavalry, Javelin, Veteran
|
6+
|
3
|
6
|
1
|
6
|
Spanish Light Cavalry, Javelin
|
7+
|
2
|
5
|
1
|
Battle of Oppidum Commorari
POLYBIAN ROMANS (South to North)
CMD
|
Description
|
Save
|
Spec/Ammo
|
Pts
|
VM
|
1
|
Left Flank Cavalry - Max
| ||||
1
|
General, Mtd, Detached, Heroic
Marcus Atilius Regulus
|
3+
|
Replay
|
7
|
2
|
1
|
Cavalry, Javelin
|
7+
|
2
|
9
|
2
|
1
|
Cavalry, Javelin
|
7+
|
2
|
9
|
2
|
1
|
Light Cavalry, Javelin
|
7+
|
2
|
5
|
1
|
1
|
Light Cavalry, Javelin
|
7+
|
2
|
5
|
1
|
1
|
Light Cavalry, Javelin
|
7+
|
2
|
5
|
1
|
CMD
|
Description
|
Save
|
Spec/Ammo
|
Pts
|
VM
|
2
|
Legio I et II - Griffin
| ||||
2
|
General, Mtd, Detached
Gnaeus Servilius Geminus
|
2+
|
Replay
|
6
|
2
|
2
|
Legionaries Special Legio I
|
6/5+
|
Pila, exchng
|
12
|
2
|
2
|
Legionaries Special Legio II
|
6/5+
|
Pila, exchng
|
12
|
2
|
2
|
Triarii, Legio I et II - Hoplites, small, veteran
|
5=
|
exchng
|
5
|
1
|
2
|
Velites - Light Infantry, Javelin
|
7+
|
3
|
4
|
1
|
2
|
Velites - Light Infantry, Javelin
|
7+
|
3
|
4
|
1
|
2
|
Velites - Light Infantry, Javelin
|
7+
|
3
|
4
|
1
|
2
|
Slingers - Light Infantry, sling
|
8+
|
2
|
4
|
1
|
2
|
Cretan Archers - LI Bow, veteran
|
7+
|
3
|
5
|
1
|
2
|
Camp
|
-
|
1
|
3
| |
2
|
Fortify 3 sides of Camp
|
3
|
CMD
|
Description
|
Save
|
Spec/Ammo
|
Pts
|
VM
|
3
|
Legio III et IV - Noah
| ||||
3
|
General, Mtd, Detached
Lucius Aemelius Paulus
|
2+
|
Replay
|
6
|
2
|
3
|
Legionaries Special Legio III
|
6/5+
|
Pila, exchng
|
12
|
2
|
3
|
Legionaries Special Legio IV
|
6/5+
|
Pila, exchng
|
12
|
2
|
3
|
Triarii, Legio III et IV - Hoplites, small, veteran
|
5=
|
exchng
|
5
|
1
|
3
|
Velites - Light Infantry, Javelin
|
7+
|
3
|
4
|
1
|
3
|
Velites - Light Infantry, Javelin
|
7+
|
3
|
4
|
1
|
3
|
Velites - Light Infantry, Javelin
|
7+
|
3
|
4
|
1
|
3
|
Velites - Light Infantry, Javelin
|
7+
|
3
|
4
|
1
|
3
|
Ballistarii - Artillery
|
7+
|
6
|
7
|
1
|
3
|
Ballistarii - Artillery
|
7+
|
6
|
7
|
1
|
3
|
Camp
|
-
|
1
|
3
|
CMD
|
Description
|
Save
|
Spec/Ammo
|
Pts
|
VM
|
4
|
Legio V, VI, VII, VIII - Sid
| ||||
4
|
General, Mtd, Detached
Quintius Fabius Maximus
|
2+
|
Replay
|
6
|
2
|
4
|
Legionaries Special Legio V
|
6/5+
|
Pila, exchng
|
12
|
2
|
4
|
Legionaries Special Legio VI
|
6/5+
|
Pila, exchng
|
12
|
2
|
4
|
Triarii, Legio V et VI - Hoplites, small, veteran
|
5=
|
exchng
|
5
|
1
|
4
|
Legionaries Special Legio VII
|
6/5+
|
Pila, exchng
|
12
|
2
|
4
|
Legionaries Special Legio VIII
|
6/5+
|
Pila, exchng
|
12
|
2
|
4
|
Triarii, Legio VII et VIII - Hoplites, small, veteran
|
5=
|
exchng
|
5
|
1
|
4
|
Velites - Light Infantry, Javelin
|
7+
|
3
|
4
|
1
|
4
|
Velites - Light Infantry, Javelin
|
7+
|
3
|
4
|
1
|
4
|
Camp
|
-
|
1
|
3
|
CMD
|
Description
|
Save
|
Spec/Ammo
|
Pts
|
VM
|
5
|
Legio IX et X - Arjen
| ||||
5
|
General, Mtd, Detached
Sempronius Longus
|
2+
|
Replay
|
6
|
2
|
5
|
Legionaries Special Legio IX
|
6/5+
|
Pila, exchng
|
12
|
2
|
5
|
Legionaries Special Legio X
|
6/5+
|
Pila, exchng
|
12
|
2
|
5
|
Triarii, Legio iX et X - Hoplites, small, veteran
|
5=
|
exchng
|
5
|
1
|
5
|
Velites - Light Infantry, Javelin
|
7+
|
3
|
4
|
1
|
5
|
Velites - Light Infantry, Javelin
|
7+
|
3
|
4
|
1
|
5
|
Velites - Light Infantry, Javelin
|
7+
|
3
|
4
|
1
|
5
|
Slingers - Light Infantry, sling
|
8+
|
2
|
4
|
1
|
5
|
Cretan Archers - LI Bow, veteran
|
7+
|
3
|
5
|
1
|
5
|
Camp
|
-
|
1
|
3
| |
5
|
Fortify 3 sides of Camp
|
3
|
CMD
|
Description
|
Save
|
Spec/Ammo
|
Pts
|
VM
|
6
|
Right Flank Cavalry- Niki
| ||||
6
|
General, Mtd, Detached, Heroic
Gaius Terrentus Varro
|
3+
|
Replay
|
7
|
2
|
6
|
Cavalry, Javelin
|
7+
|
2
|
9
|
2
|
6
|
Cavalry, Javelin
|
7+
|
2
|
9
|
2
|
6
|
Light Cavalry, Javelin
|
7+
|
2
|
5
|
1
|
6
|
Light Cavalry, Javelin
|
7+
|
2
|
5
|
1
|
6
|
Light Cavalry, Javelin
|
7+
|
2
|
5
|
1
|
The rest of this post shows the same armies and commands as I set up the trial deployment on my 6 foot wide table at home. Since I had some spare time, I also decided to try the one-off game table set up rules. I had in mind to use this set up for the game, but between the difference in table sizes and forgetting to bring a map or picture, that didn't happen. No plan survives contact with reality!

Test deployment without terrain. Romans near, Carthaginians far.

Using the TTS rules, each player brings one terrain piece per 8 boxes on the battlefield. Pieces can be two boxes in length, but then cpunt as 2 choices. At least 2% must be open terrain (fields, road, or low hills), at least 25% must be rough terrain (such as woods, step hills, rocky ground, swamps, or buildings), and no more than 25% may be impassable terrain. Here's what the initial placement looked like; each side must pace at least 1 piece in each of the central, left flank, and right flank zones.

Then one card is dealt face up on each terrain piece. Ant terrain piece with a diamond on it is removed. A number of pieces have been removed.

Pieces with a Club remain, except that if they are in the central zone and not a road or a track, they are removed. Poof! A bunch of rocky terrain removed!

Pieces with Hearts remain in place. (Flipped cards indicate pieces whose fate has been adjudicated, and are in their final positions).

Pieces with Spades will be displaced one box in a direction determined by the pip value of the card.

Shifted terrain that had Spades played for them,.

The resultant final terrain set up.

Another view. of the final terrain.
Next are pictures of each of the 12 commands to make up for the lack of in-game shots!

Roman Command 1- Left Flank Cavalry under Marcus Atililius Regulus, aka Max.

Roman Copomkand 2 - Legio I and II, under Gnaeus Servilius Geminus, aka Griffin.

Roman Command 3, Legio III and IV, under Lucius Aemelius Paulus, aka Noah

Roman Command 4, Legio V, VI, VII, and VIII, under Quintius Fabius Maximus, aka Sid.

Roman Command 5, Legio IX and X, under Sempronius Longus, aka Arjen.

Roman command 6, Right Flank Cavalry, under Gaius Terrentius Varro, aka Niki.

Carthaginian command 6, Right flank Cavalry, under Hasdrubal Barca,
aka Carter the Carter-aginian!

Carthaginian command 5, Libyan Spearmen in phalanx plus supports under Mago Barca, aka Carter and Lucas. Whoa, Nellies!

Carthaginian command 4, Spanish Scutarius plus supports, under Gisgo, aka Lucas.

Carthaginian command 3, Gallic Warbands and supports, under Virdomanus, aka Thomas.

Carthaginian command 2, Libyan spearmen and friends, under Hanno, aka Catherine.

Carthaginian command 1, Left Flank cavalry, under Maharbal, aka Hatti.
I used the new rules for the Polybian Army list, and these worked much better than the original; version with the multitude of brittle, small units. The Rally, Exchange, and Rearm rule for "special" Legionaries worked well to model the effect described for the this era without having to explain *how* they did it.