After the Franco-Prussian game Saturday, we shifted countries and eras to play test my revised scenario for this battle, with changes inspired by the version Michael Hofer developed for his scenario book, "Blood along the Danube, 1809". I used Badeners as stand ins for half of the Bavarians (I was already using almost all that I own) , and I used Landwehr and Freiwilliger as stand ins for the Tyroleans of Reisenfells command, and substituted Spechbacher for Teimer, and moved Teimer to the other side of the table (a map reading error). With those caveats, here we go:\
Second Battle of Berg Isel: May 29, 1809
Table Size: 6
x 10 feet
Troop Scale:
1 Infantry unit = 600 men, 1 Cavalry unit = 300 men, 1 Artillery =
6 guns.
Background: After
retaking the Tyrol, believing the rebellion largely crushed, Wrede's
Division was withdrawn, ultimately to fight at Wagram a little over a
month hence. This left just Deroy and his 3rd
Bavarian Division, with assorted attachments, to hold the Rebellious
province. It would not prove enough. On May 25th,
an attack was launched on the outskirts of Innsbruck by some 6,000
Tyrolean insurgents supported by 1200 Austrians. Their attack was
repulsed, and the combat terminated by a heavy rainstorm. However, 4
days later, the numbers of insurgents in the area having swelled to
12,000, the Tyrolians attacked again with their main force at Berg
Isel, while additional detachments seized the bridges over the Inn at
Volders and Zirl.
Map: Mount
Isel and the foothills of the Alps are wooded Class III mountainous
terrain; they are impassable to Artillery (except the Tirolese wooden
guns) and cavalry. However, all Tirolese (but NOT the Austrians)
treat these as Class II terrain for movement.
The
River Inn is unfordable, while the River Sill is a Class II stream.
The buildings of Innsbruck, part of which is shown on the map, are
Class II. The Abbey and Schloss have been fortified by the Bavarians
and are Class III Terrain.
Scenario Rules:
Tyrolean Scutzen
represent partisans armed primarily with firearms and largely lacking
bayonets, etc. They will count as armed with Rifles,
however! They must be deployed in Skirmish order or Line formations only, and are DOWN 1
additional in Melee. They have only 2 UI per unit.
Tyrolean Landsturm
represent peasants armed with polearms and spears and a few
antiquated firearms. They must be deployed in Attack Column or Line
and are Up 2 additional in Melee, but Down 1 for fire. In addition,
they suffer no penalty for being charged by Cavalry frontally.
They have only 3 UI per unit.
Tyrolean Wooden Gun
moves like Tyrolean infantry (including in Class III Terrain), but
must “limber” and “unlimber, and reloads on the Artillery
Firepower cards. It has but 1 UI.
Andreas Hoffer,
an Innkeeper by trade and the heart and soul of the Tyrolean revolt
is UP 2 on his LD when attempting to rally any Tyrolean troops.
Joachim Haspinger,
a charismatic red-bearded Capuchin priest, Makes any unit he is
attached 2 Up 2 in melee; however, if he has been engaged in a melee
since the last Army Morale Card, he will roll a D12 instead of a D20
for being hit.
If any of the four
buildings of Innsbruck proper are occupied by enemy troops, the
Bavarians lose 1 Morale Point for each such building, for as long as
the building remains controlled by the enemy.
Deployment: As
shown on the map.
Reinforcements:
Speckbacher:
Roll a D6: On 2nd
MOVE card, enters on a 1, 3rd
MOVE card 1,2,3,4, 4th
MOVE card – automatic
Teimer:
Roll a D6: On 4th
MOVE card, enters on a 1, 5th
MOVE card 1,2,3,4, 6th
MOVE card – automatic
Victory
Conditions:
The game ends after the 9th
Austrian MOVE card is played and acted upon (nightfall). If the
Austrians have un dispuited control of Berg Isel, or the Tirolese
control any of the 4 buildings of Innsbruck, AND their opponent fails
Army Morale, they score a Major Victory. Otherwise, if the enemy
fails Army Morale without accomplishing the above results, it is a
Minor Victory. Any other result is a draw.
Austrians:
No
C-in-C, use LD 8 for initiative purposes.
Sequence
Deck: Abysmal
23
Infantry, 1 Cavalry, 2 Artillery; Army Morale Points: 28
GM
Ignaz Freiherr von Buol-Barenburg LD
8, CR 16”
2
Austrian Line DD 6, CD 10
1
Austrian Jager DD8, CD 12
6lb
Foot Battery DD6, CD 12
1
Squadron Chevau-Leger DD6, CD 10
(only
1 Unit Integrity)
Andreas
Hoffer
LD 8*, CR 20”
3
Tyrolean Schutzen*
DD 4, CD
10
2
Tyrolean Landsturm*
DD 4 CD
8
1
Wooden Gun* DD 4, CD 8
Joachim
Haspinger LD
10*, CR 20”
3
Tyrolean Schutzen*
DD 4, CD
10
2
Tyrolean Landsturm*
DD 4 CD
8
Joseph Speckbacher LD 12, CR 24”
3 Tyrolean Schutzen* DD 4, CD 10
2 Tyrolean Landsturm* DD 4 CD 8
Martin
Teimer, LD 8, CR 16”
2 Austrian Volunteers DD
4, CD 10
3 Austrian Landwehr DD 4,
CD 8
3rd
Bavarian Division, GL Bernard Erasmus von Deroy
LD
10, CR 20”
Sequence
Deck: Average
10
Infantry, 2 Cavalry, 3 Artillery 15 Morale
12lb
Foot Battery
DD 6, CD 12
GM Justus von Siebein
LD 10, CR 20”
1
Baden Jager DD 8, CD 12
4
Baden Line
DD 6, CD 10
6 lb Foot Battery DD
6, CD 10
GM Vincenti
LD 10, CR 20”
1
Bavarian Light DD 8, CD 12
4
Bavarian Line
DD 6, CD 10
6
lb Foot Battery DD
6, CD 10
GM
Seydewitz LD 10, CR 20”
Baden
Dragoons (3 UI)
DD6, CD 10
Bavarian
Chevaulegers (2 UI)
DD6, CD 10

After the play test, I am going to move the set up for the Bavarians back 3" so that they start outside the Class II terrain.

Early in the game - Innsbruck to the right, Berg Isel in the center.

A view from the opposite end of the table.

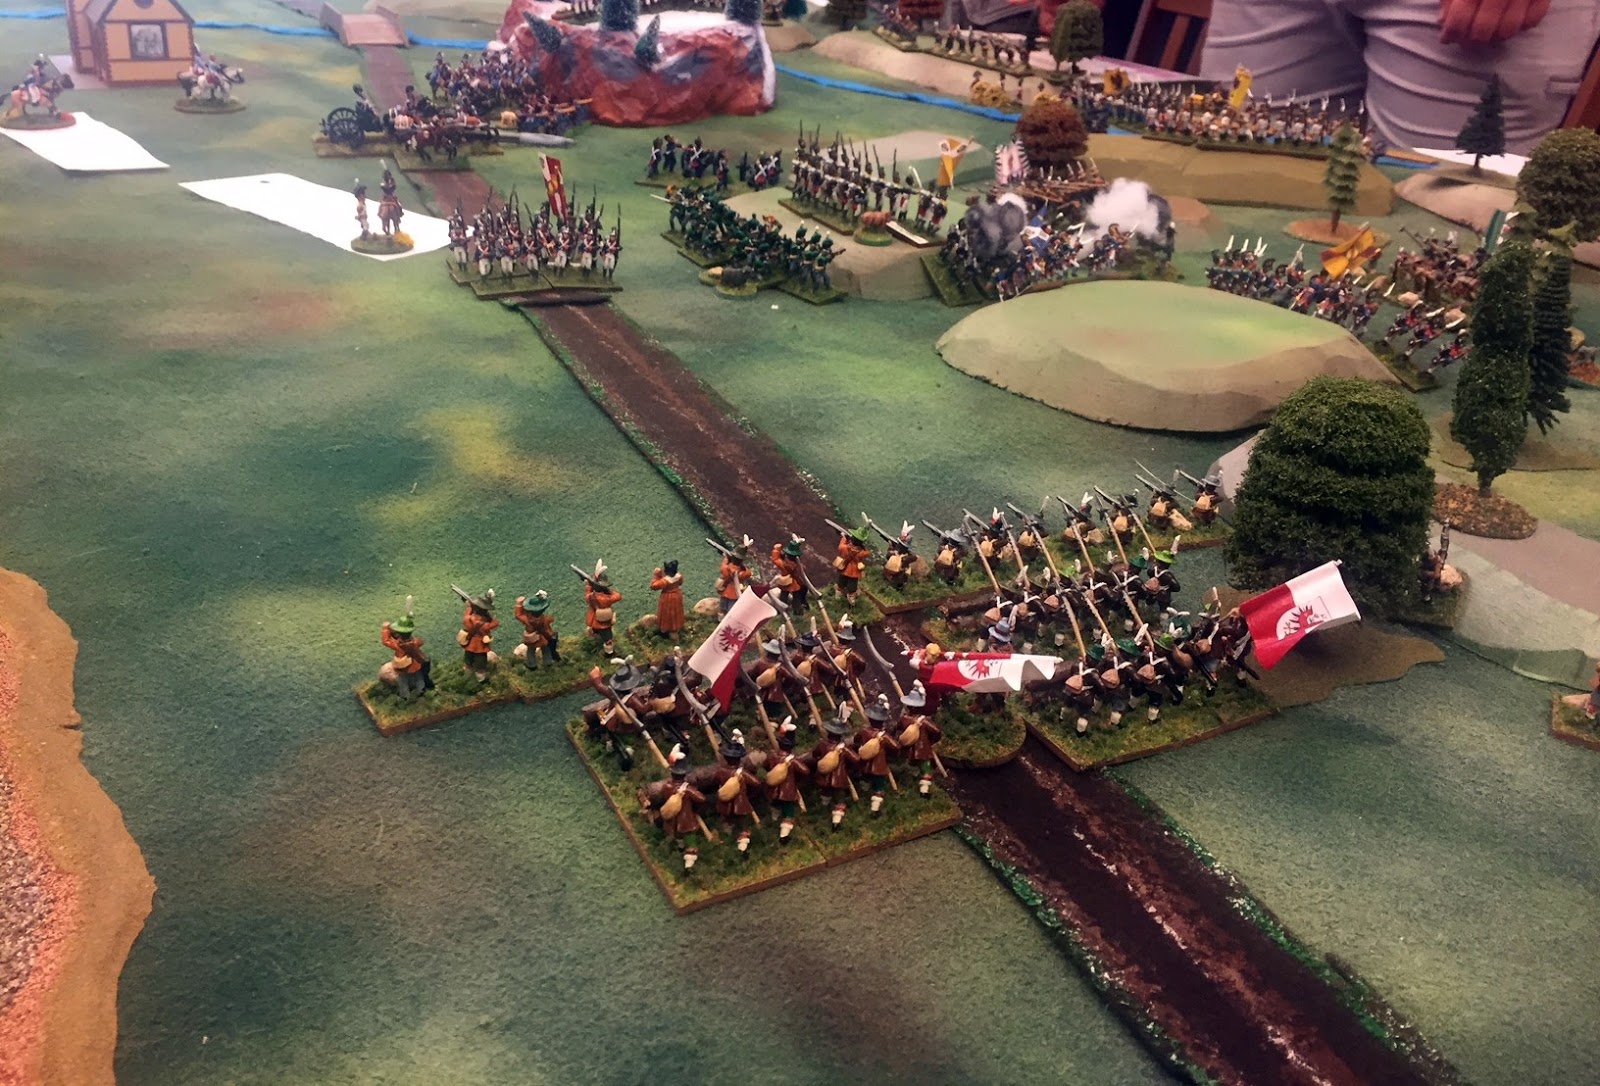
Tyrolean Rebels under Hofer swarming through the rough terrain.

The Bavarians (Badeners used as stand ins for half of the Bavarians) are surprisingly aggressive in taking the battle to the Rebels!

More action on the other side of Berg Isel.

Artillery deployed to make the most of limited fields of fire in the center. Bavarian General Vincenti is hit on Berg Isel.
Speckbacher;'s command enters on a Triple Move!

Not long afterwards, Teimer's command enters from the opposite direction on a Double Move. Elsewhere, Hofer goes down with a wound as well!

Speckbacher's men continue to advance with alacrity... as both sides reach zero Army Morale Points simultaneously!

Speckbacher's Shutzen threaten the rear of Von Siebein's troops.
This game was hugely fun, as usual thanls in no small measure to the players themselves. In the end, however, it was the Bavarians who prevailed, the Rebels withdrawing into the alps and safety. Historically, after fending off Tyrolean attacks all day, Deroy and his command slipped away under cover of darkness, abandoning Innsbruck, where they had become increasingly isolated.
Pretty table. Nice to see the Badeners in action, even if they are posing as Bavarians.
ReplyDeleteYes, the Baderners are probably going to get an inferiority complex being used as ersatz Bavarians so often!
DeleteThis setup looks a dandy, Peter!
ReplyDeleteThanks, Jon! There will probably be a few more hills and trees in the "Alps" in the Historicon version!
DeleteLovely looking game and nice to see your Badeners out,even if it is in disguise!
ReplyDeleteBest Iain
Yes. it was the first time on the table for the Baden Dragoons, Artillery, and some of the officers.
DeleteGood to see the new troops getting 'blooded'
ReplyDeleteThey performed rather well, actually!
DeleteThe game looks like it was a lot of fun.
ReplyDeleteThanks, Peter; it was! The Bavarians were particularly determined to knock out that wooden gun!
DeleteNeat! Damn it Peter you'll have me buying Tyroleans!
ReplyDeleteThanks, Mark. They are a bit on the fringe, though. After all, it has taken me about 50 years of Napoleonic Wargaming before I came to them! :-)
DeleteTwo thumbs up! Great table setup/terrain, and units. Good to read in your post that everyone involved had fun playing the game....
ReplyDeleteThank you, Phil. It was very enjoyable, and definitely an asymmetric game!
DeleteBeautifully done as ever. You have done so much to "professionalize" our hobby. A tip of the feathered Tyrol hat to Jared and his kids for bringing an obscure conflict to life. As an aside, one might think the French and Prussians would have learned something from observing the ACW only five years back but one would be wrong.
ReplyDeleteThat looks like a lot of fun, and nice to see the Badeners succeeded where the Bavarians failed (and they look just fine as stand-ins).
ReplyDeleteI just hope the Historicon game goes nearly as well. :-)
DeleteThey were a big help. Both France and Prussia had done quite a bit if fighting in the previous 15 years or so, but still had a number of lessons to learn!
ReplyDelete