 Set up for The Battle of Cookham Moor with For King and Parliament, from the (fictional) scenario book From Marlowe to Maidenhythe. View form the Royalist positions, their forces consist of 1 Seasoned and 1 Veteran Battalia, 3 seasoned pike heavy battalia, 1 unit of Commanded shot (the famed Oxford Musketeers), 1 Field gun, 5 Swedish Horse, and a small troop each of Swedish Horse and Dutch style Lobsters in 4 commands.

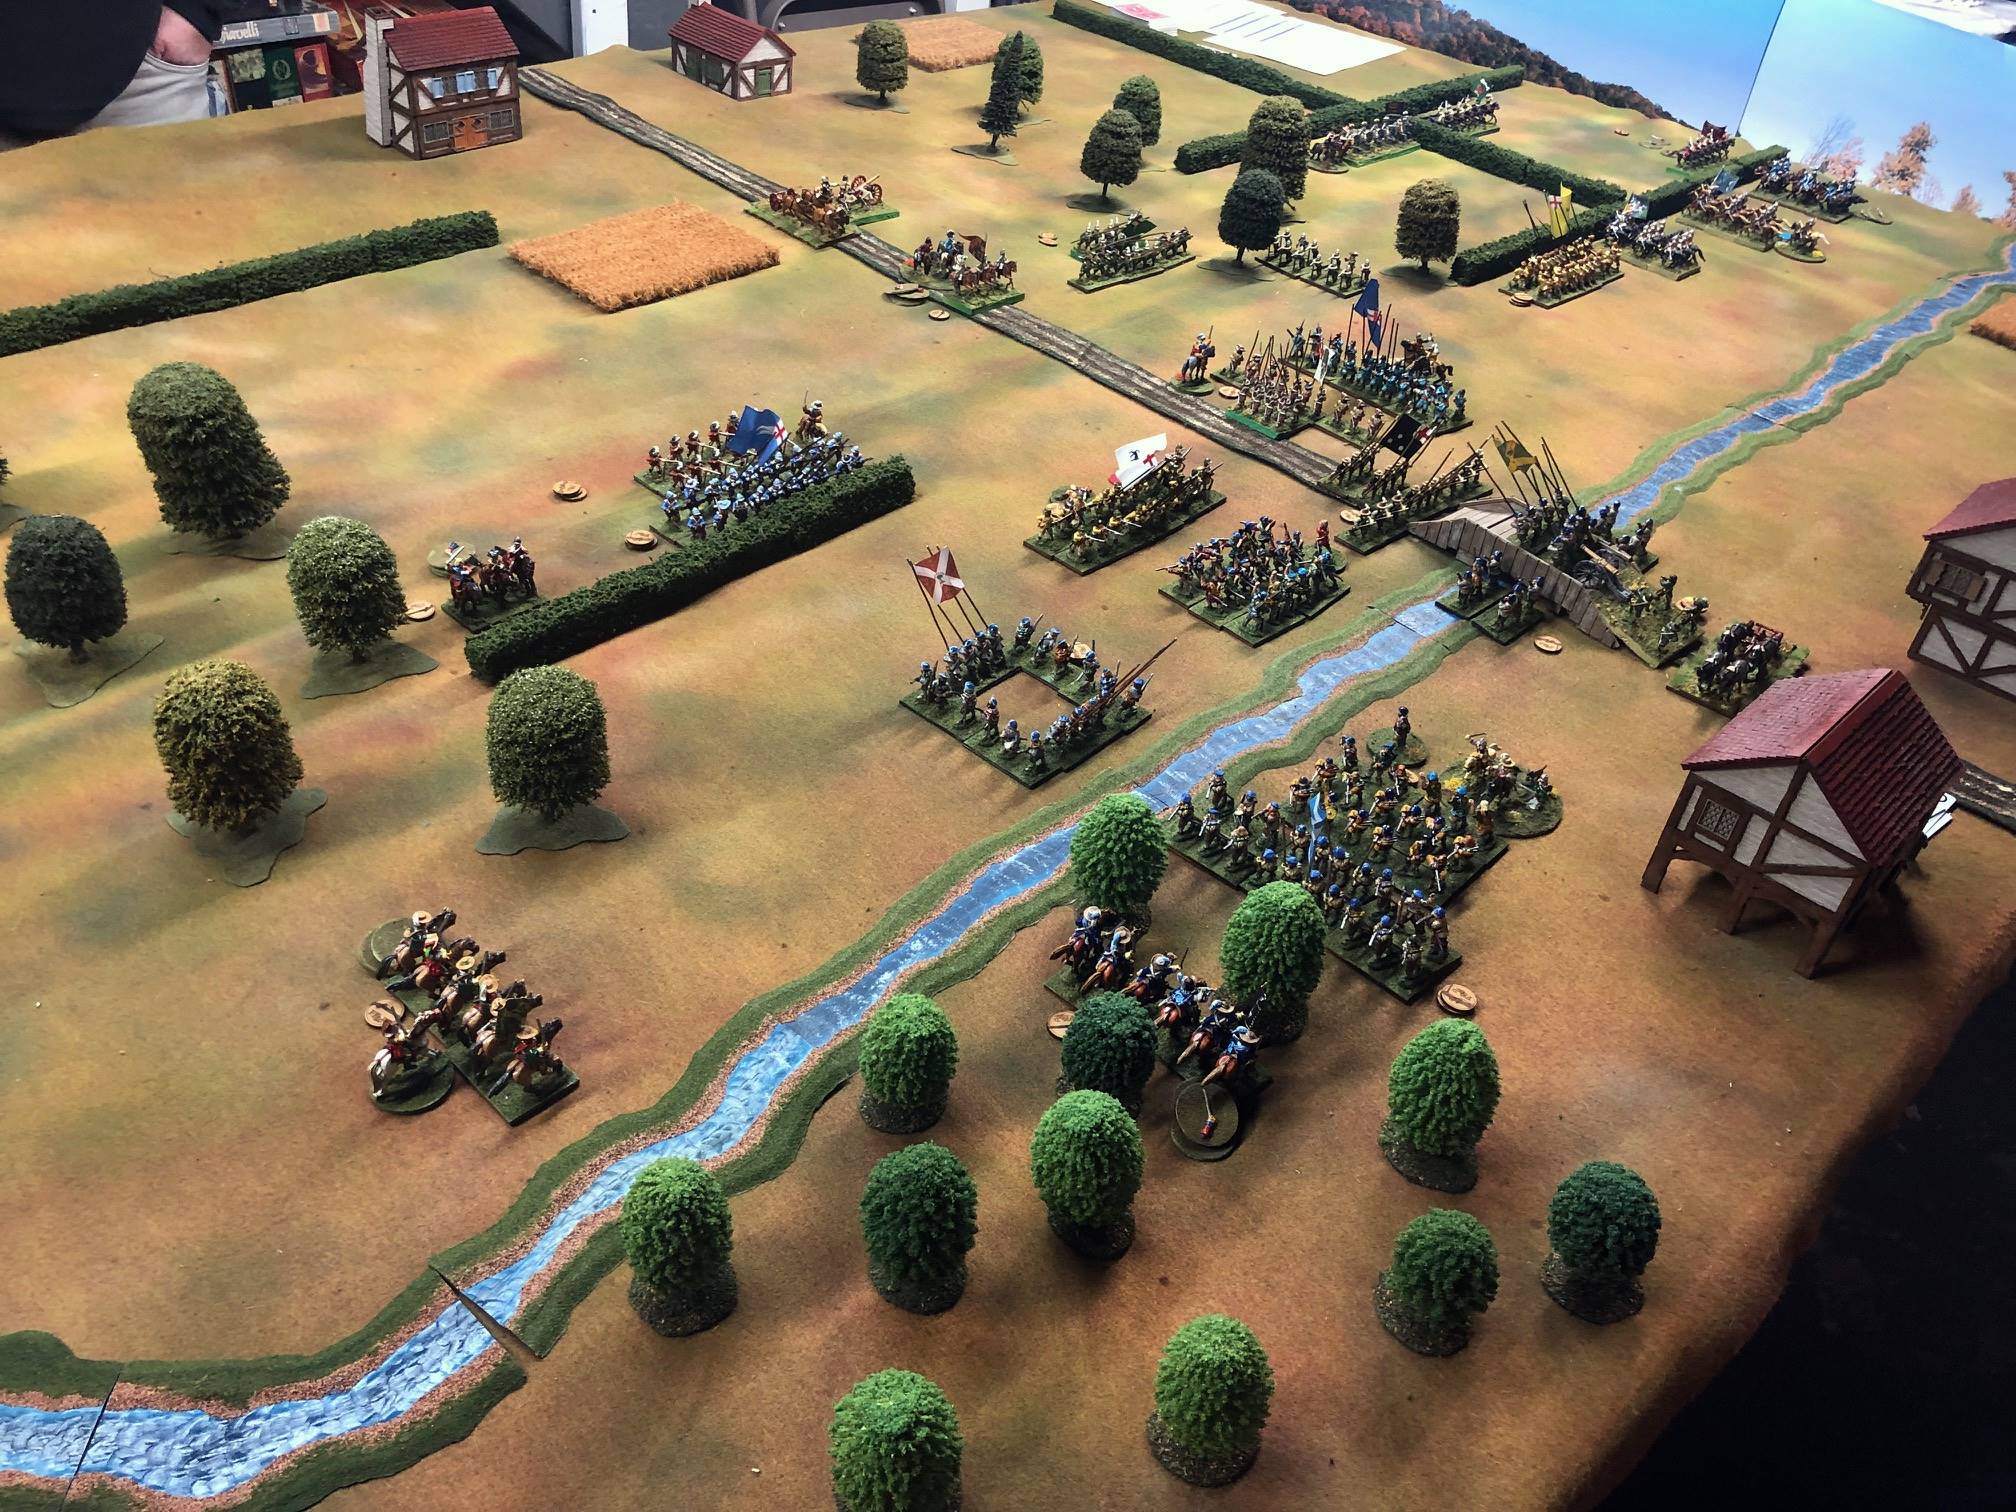
View form the Parliamentary starting positions. They have 2 units of deep Highlanders, 5 regular Battaglia (3 of them Scots), 1 unit each of commanded shot and Field guns, and 3 units of Dutch stle Horse, two of them Veteran, in three commands

With Thomas having to bow out last minute due to feeling unwell, it was just Kevin and I. As he was new to the rules, I gave him the Royalists to command (the Dutch style cavalry is at a huge disadvantage to the Swedish style Horse). The royalist won the "toss", and played first. My center command moved across the stream to their front without issue, but the Scots, even with the Army general replaying their failed Group move forward stubbornly stayed put, evidently claiming their Haggis had yet to cool properly. Only one of the 3 Horse units made it across the minor stream as well. Not a very auspicious start.

Royalist Move 1 - note the great precision with which their forces have advanced in a well coordinated fashion!

Parliament, Move 2. The local militia Battaglia have continued their advance, and another cavalry unit has crossed the stream. The3 Scots get partly across the stream, but then pause to rinse out their stockings. The Roundhead artillery remains limbered, having difficulty deciding where to deploy.

Table edge view of the end of Parliamentary Turn 2.

Royalist Turn 2 - a continued advance on all fronts, with the alarmin arrival of some cavaliers far in the vanguard, and potentially threatening the Parliamentary Left flank! The Royal Artillery also decided to await events before committing themselves and unlimbering (once Artillery of this era unlimbers, it cannot move for the rest of the game, other than to change its facing).

Royalist Turn 3 ends very quickly! This has the potentially to really give the King's men a tempo advantage at critical stage of the battle's development!

Royalist Turn 3sees the forces of the King lose some spring in their step as well, but the far advanced Horse on the Royal right has turned to face the flank of the lead Scots Foote.

Parliamentary Turn 4. The Roundhead gun unlimbers in position, and then fies - an actually manages to score a hit, which the target fails to save! They have accomplished about as much as one ever expects from the guns in these rules already (right after I explained to Kevin how generally ineffective they are!)

The rest of Parliamentary Turn 4; the far left Scots Foote manages to form hedgehog, which greatly reduces the risk of them being trampled by the enemy Horse, but makes them ineffective at shooting whilst themselves making a prime target. Their failure to exert any Zone of control is yet another disadvantage of the formation. It will buy time, but at the cost of eliminating any real offensive threat by the unit. The Parliamentary cavalry has positioned themselves behind the hedgerows, which offers them considerable protection against the superior Swedish style horse, supported by a unit of Foote; the Commanded shot have infiltrated the woods, which is the best spot for them. Still this means that a mere 6 VM worth of Royalists are stalemating 12 VM's or more of the enemy. With the Scots all but incapable of offensive action as well, the center is left open for the King's men to dominate.

Royalist Turn 4: and dominate the Center is exactly what the Cavaliers do. The Royal Artillery finally decides to commit, deploying to partially counter the threat of the commanded shot in the woods.

Parliamentary and Royalist Turns 5. The roundhead shot in the woods turns and shoots the Green regiment in the flank, one unsaved hit resulting. They also manage to move one unit of Scots in front of the guns, holding the bridge over the river... but masking the gun. Two units of Scots are still grossly mispositioned and unable to contribute much to the battle! Even worse, on the Royalist movethey manage to infiltrate another of their cavalry units across the stream and into the woods, on the flank of the hithertofore inactive Scots! The Cavaliers continue by moving the Black regiment up to the bridge, and turning their whitecoats to flank the enemy bluecoats, whilst the Greencoats pull back. Note the small troop of Lobsters holding back in the center.
Parliamentary Turn 6.: The two flanked units of Foote manage to turn to face their attackers, but they can generate little offense.

Royalist Turn 6: The Foote and commanded Shot on their right move up to engage the Hedgehog in a battle of Musketry where they have all the advantages! The Cavalry in the woods pulls back to avoid being shot at by the Covenanter Foote, but still continue to threaten the flank of the Scots command.

Turn 7: View of the Center and Left - the Covenanter Foote has managed to score 2 hits on the enemy Blackcoats; one more and they will be dispersed!

On the right, the Commanded shot advance to regain the flank of the Green coats, and the right flank commander decides it's now or never, and advances boldly (some might say, rashly) with his yellowcoat Foote and one of his Veteran regiments of Horse. meanwhile, the Highlanders launched a wild, Highland charge upon the veteran Yellowcoated Roundhead pikemen. The initial impact did some damage, but after that everything favored the pike armed Foote, and before long a mob of Scots ran screaming back to the heather and the hills!.

Royalist Turn 7; the small troop of Lobsters manages to maneuver to charge into the flank of the Roundhead Bluecoats; this is an official Bad Thing, and they play SIX hit cards, scoring 2 unsaved hits. The Bluecoats are in serious danger of becoming cooked ham!

Situation on the Royalist Left.

In the center, the combined firepower of the Blue Regiment and the Oxfiord Musketeers has eliminated the Scots Hedgehog - Double hit cards and poor saves, ouch!

Turn 8: The Roundhead Horse pulls back, and the Yellow Foote flank the Cavalier Horse; however, they are unable to activate to shoot (Foote are unable to attack Horse in melee under any circumstances in this era)
 The Roundhead Blue regiment, with 2 hits on it, pulls back, but the whitecoated Royalist Foote Lobster troop both follow it. The Royalist Foote in the Center move up to, and in the case of the the Oxford Musketers, across the stream. The Scots Foote near the woods turns to face the advancing enemy, while the Highlanders gain the flank of the Horse in the woods.
Overview of the battle from the opposite perspective.

Turn 10: The Highlanders shoot the Cavalier Horse in the woods in the flank, scoring one hit. After that, they are essentially unable to effect the Horse; they can't shoot again, and are not allowed to engage them, even in the flank, Disordered in the woods. That seemed a bit unreasonable, and the first time I have had a serious issue with the rules. Pikes and cavalry don't belong in the woods; I think at very least cavalry should lose their invulnerability to attack by infantry when in the woods! They do already lose the benefit of their Dash markers when charging into, in, across, or out of rough terrain. Easy enough to House Rule, though. That lead to the question, is Dash still expended in such a circumstance. We decided no for game purposes, but I think the answer is yes On the other hand, reading the rules the night before, moving 2 boxes for Horse doesn't expend a dash, only charging and pursuing any distance. The Oxford Musketeers charge into the flank of the Covenanter unit defending the bridge, and in 2 charges, the entire regiment is scattered!

Royalist Turn 11: The Highlanders can only stare aggressively at the enemy Horse in the woods, the Scots Foote pulls back, the gun shoots at the Blackcoats, hoping to get that last hit and eliminate the unit, but - nope! The Royalist Bluecoat Foote pulls back yet again, whilst their Yellow coats turn to face the Horse, but fail to shoot them!

Parliamentary Turn 11: The Bluecoat Horse pull back from the Yellowcoat Parliamanetarian Foote to avoid being shot at. With no hedges to blunt the fury of their charge any longer, another unit of Cavalier troopers charge some veteran Pistoliers. They play FIVE hit cards, and as is so often the case, brush off the point blank defensive fire of the enemy pistols, and ride down their Puritan opponents. Poof, gone! Meanwhile yet another Royalist small troop gains the other flank of the beleaguered Parliamentarin Blue Foote, whilst the Lobsters muck about in the woods, placing themselves on the flank of the Roundhead Commanded shot!

Meanwhile, the Oxford Musketeers occupy Cookham and threaten the flank of the last Covenanter Foote. The Parliamentarians have lost 13 of their starting 17 medals, and the Royalists... none of their 18 medals. With little meaningful they could do on their next turn before at least 2 more units will almost certainly be destroyed, the Roundheads concede to their opponents. Interestingly each side only had one General hit, and each time they were merely stunned for a turn. The victorious Royalist Horse would have had to have launched a Pursuit on their turn, but at this point it would matter little. A smashing victory for Kevin and the forces of the King!
A very nice win for the Royalists there. I'll be coming back to read this again for additional tips before we put on our first FK&P game hopefully in a month or so.
ReplyDeleteThe only difficult thing about the rules is understanding the way that activations work; once you have that down, your pretty much good to go. Some of my earlier reports have detailed walkthroughs of the rules.
DeleteA spectacular and beautiful game!!
ReplyDeleteECW battlefields tend to be very "scenic"!
DeleteGreat stuff Peter and seems very similar to the FKaP game I played about ten days ago - I do wonder about that cavalry ruling though....I dont believe ALL Parliamentarian cavalry was "Dutch" style......
ReplyDeleteThe year is 1643; as time went on the Parliamentarians progressively switched to "Swedish" style tactics, and with good reason!
DeleteWell done, gorgeous table. Nice to see all the old and new ECW troops in play.
ReplyDeleteYes, quite a mix of 1970's Minifigs and 2020's Old Glory!
DeleteDoes show off all those new highlanders, among others.
DeleteThese scenarios are a large part of what spurred the Scots ECW project in the first place!
DeleteA wonderful looking game and entertaining battle report.
ReplyDeleteThank you, Peter! Glad you enjoyed it!
DeleteThoroughly enjoyed your report. An excellent looking game.
ReplyDeleteOn a random note, I can see that you have Assyrians, plus Jon Freitag tipped me off. I've got some to give away (I'll cover the postage too). Have a look at my blog (My Wargaming Habit) and let me know if you are interested.
All the best
Glad you enjoyed the report, Richard. The Assyrians would be of interest, although now days postage to US is a killer!
ReplyDeleteBeautifully colourful game Peter. I was hoping that the cuirassiers would do something *amazing*, but I s'pose they were too few to win and too many to die.
ReplyDeleteRegards, James
Thanks, James!
DeleteActually that small troop of Cuirassiers was thoroughly annoying from my standpoint!
Great battle report. I have FK&P but haven't played it (I have TYW armies not ECW..yet).
ReplyDelete