
Karl decides "Gentlemen of France, you may act first", and Massena turns a MOVE card!

Time to move up Lacour's laggard Dragoon Brigade...

2 Move segments and a bit of oblique movement is enough to get them in to position.

GG #2 (the corpse, perhaps that of his predecessor), reminds us that he is now on;l LDS 10; he styill manages to roll a Double Magic Move.

The brigade's battery fires at the opposing Austrian battery, but there is no discernible effect; it will then do the Limber and Move trick.

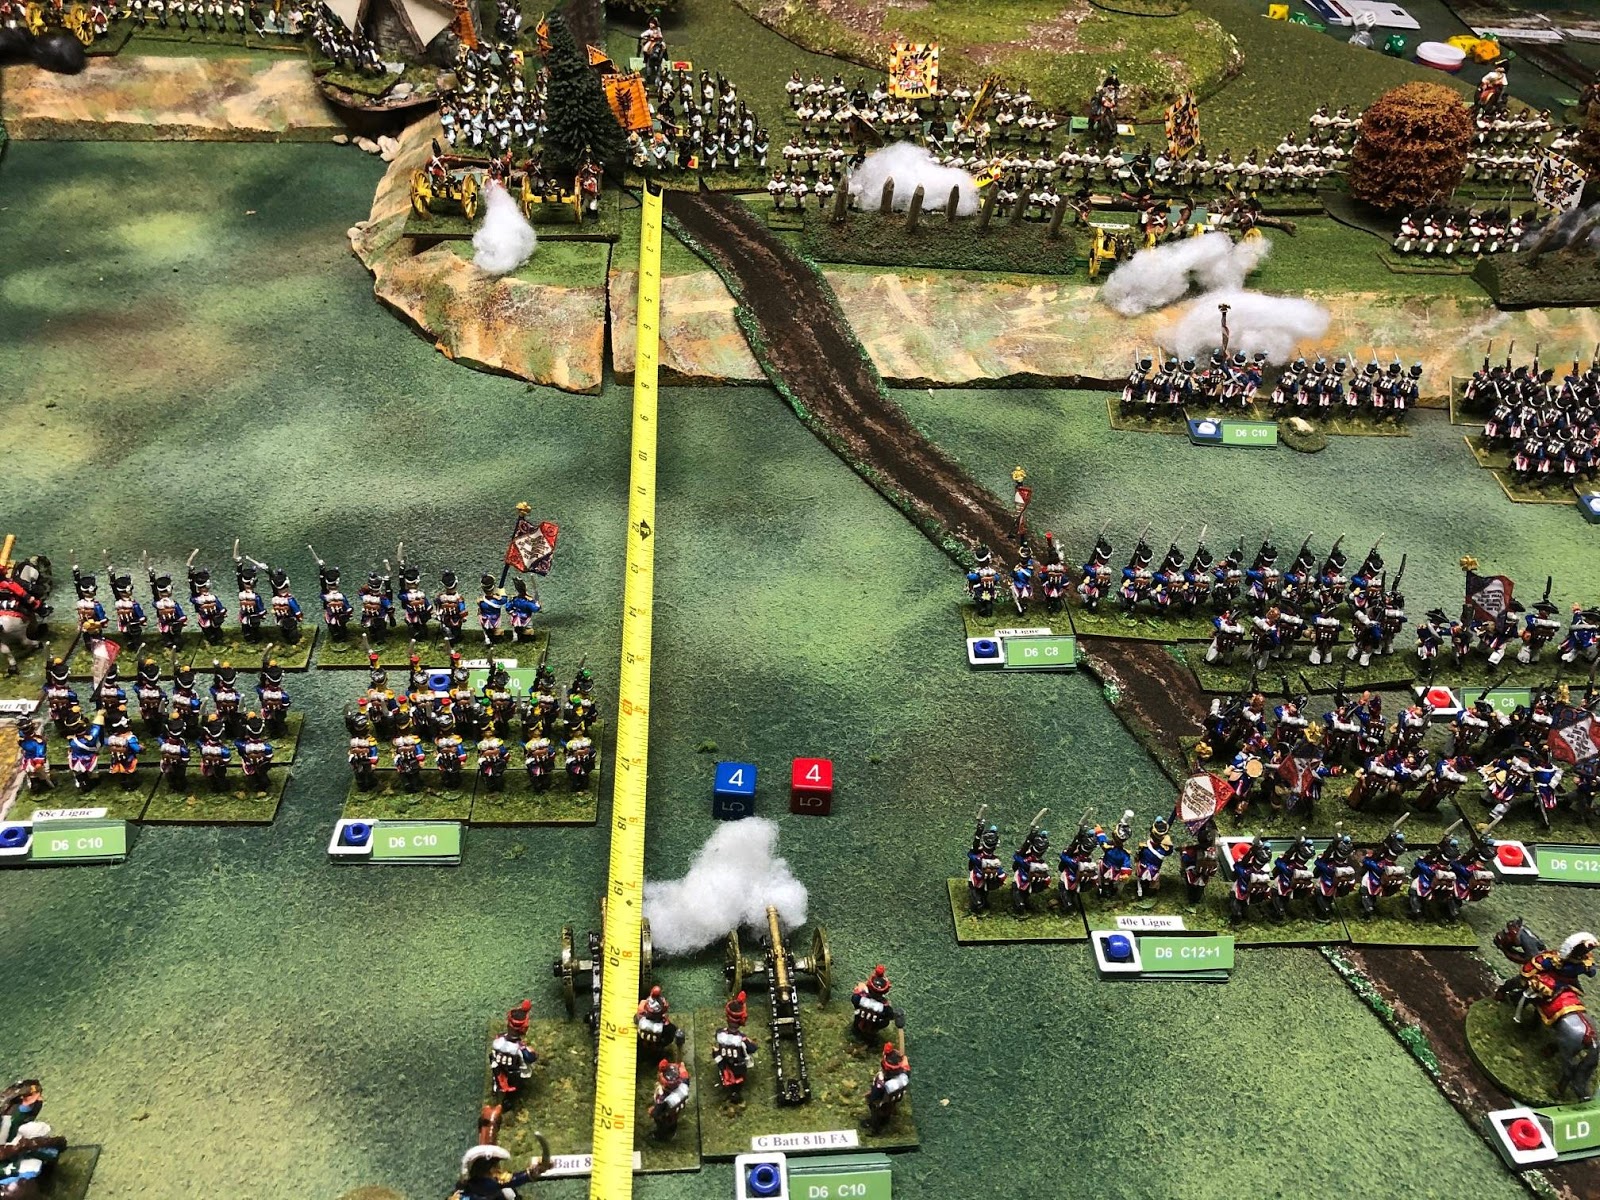
The brigade General Goulus bis after all movement is completed.

Opportunity fire by the battery, declared at 6" range (UP 2 to D12+1) gets a hit (rock and a Morale Point), but the odd roll fails to stop the advance of the French to short musket range. Thwey preopare to issue their own fire at the opposing battery.

"Entschuldigen Sie, Etienne..." the Grenadier unit is also eligible for pre-emptive Opportunity fire. The D12+2 roll of 10 causes 2 hits. When 2 hits are scored by a single fire, and the die roll is EVEN, the target Routs the difference in inches.

The first French unit to rout... one can hardly blame them given their commander;'s callous disregard for their well being! Perhaps a bit too much audace?

The French attack column has contacted the routed Hungarians. They are removed without further ado; this, however, does NOT cost Karl any additional Morale Points.

The remaining French unit shoots at the Grenadiers that inflicted such grievous loisses on it's brother uinit, but is ineffective; note the D8 Defense die of the Grenadiers.

Brigade Camus rolls up a double move, but alas their pants are plain this time.

Thise battery (of a different brigade, mind you), fires and drives back the lead Austrian battalion in "the gap" with losses in Disorder.

The required Fall back is 5", BUT the unit must be able to get clear of any freinds, so it has to move back a bit further to accomplish this.

"Target Practice!" Another battery of a different command shoots, striking the next unit in "the gap"; 12 vs a 3 (the target is one of the "raw" rated Austrian line battalions). The Kaiserliocks rout back 9", with the loss of 3 UI and 3 Morale points. Ouch!

"Run away!"

With the foreplay done, Brigade Camus makes its move. Note the French column on the Southern ridge. It has friends in support, and skirmishers to its front.

The French Artillery reserve uses 2 segments...

one to move 8" (limbered units may maneuver freely), and the second to Unlimber.

A double move with fancy business for Brigade Compere!

Austrian battery on the ridge issues Opportunity fire at the advancing Frenchies; even the Legere's D8 defense die cannot prevent them from being forced back 3" in Disorder, with the loss of 1 UI.

The rest of the brigade, however, continues its advance.

Legere in Line fire (D12+2) at the (unloaded) battery at Close range - they lose 2 UI, but their morale holds. Massena enjoys the satisfying clink of Morale Chips being dropped into the "expended" box!

The French column fires at the second, also "unloaded" battery, and also scores a 2 UI loss, with the target being Disordered as well. Unlimbered Artillery units suffering 2 UI losses to an even roll don't rout but remain in place, Disordered; in FoB2 they were "silenced", and could not fire until rallied, but that has disappeared from FoB3.

Reserve Brigade Solinac rolls up a single move, and advances without engaging in any combat.

No move for Brigade Lenchantin!

Unwilling to accept such an outcome at a critical juncture. General de Division Gardanne places himself at risk, and rep-rolls for his subordinate. he does.... somewhat better with a Triple Magic Move. En avant!

The 3e Ligne moves forward in line; the defending grenadiers fire, but miss, and the 3e can amange no better in response!

A second battalion advances in Line and exchanges fire with a battery; advantage, Team Austria, as the guns inflict 1 UI, but no morale loss.

Brigade Launay gets 2 segments, but no flourishes.
The old Fire, Limber, and move again, eh Andre?" Yep, but the French fire has no discernible effect upon the stolid whitecoats.

! french unit fires at an unloaded battery, but can only manage to Disorder it. The other French battalion, even employing the Tactical Advantage card, makes no impression at all

Overview after completion of Launay's move. I love the look of the smoke markers on the table myself! Of course, as a player, I like them better on the other guy's troops!

Valentin's small converged Grenadier brigade rolls up a single, embelished move.

It moves forward 8"; boring but necessary!

Espangne rolls up a plain single move, and decides that he likes his troops positioned just as they are, thank you!

With all of his commands having acted on the MOVE card, Massena turns his second and last card, ARTILLERY FIRE.

Overviews of the Battle from the Northeast...

and from the Southwest. Massena has 5 batteries with smoke on them; he removes all 5 but chooses not to fire any (many are limbered at the moment - yes, limbered batteries can remove smoke markers; "loading" shouldn't be taken too literally!

The Horse battery on the far North of the French line is already loaded, so it takes a "free" fire, and then immediately "reloads" on the ARTILLERY FIRE card. The target infantry in line is under 24" away (DOWN 1) and uphill (DOWN 1), but he battery still manages to drive back the Austrians with losses, in Disorder.
Next time we'll see what Karl manages with the two cards he has coming...
Extremely comprehensive reporting of the frenzied action supported by a host of evocative images...can't wait for the next instalment!
ReplyDeleteGlad you're enjoying it' I am having fun playing it out.
DeleteThis is really interesting,Peter. A good mix of text and photos makes following along easy. Lovely and densely packed table too!
ReplyDeleteThanks, Jon. The troop density is a bit higher than I'd like, in all honesty, but that's one of the things about doing historical scenarios - they are they way they were!
DeleteLots of troops on view and that certainly helps with the spectacle, I expect it makes your excellent blow by blow bit 'harder' to do. Does show just how playable FOB system is though :-)
ReplyDeleteThis is a scenario I'd probably run with 3 or 4 players a side, which would make it crack along very quickly. Hopefully I will have a chance to run it at Historicon 2021, although I give even that at best a 50/50 shot of happening. Thus it is also serving as a playtest of the scenario for that.
DeleteI really like the little (wooden?) unit condition markers that you have. Color coded for the armies and containing the dice holder (square box) or the bigger division command with some data on them for easy access at the table.
ReplyDeleteDid you make those yourself?
Thanks!
DeleteThey are plastic, and come from Lancashire Games in the UK. There is more about them and a link to the Lancashire Games site in the 2nd post of the series, which covered the setup for the game:
https://blundersonthedanube.blogspot.com/2020/06/battle-of-caldiero-1805-set-up-and.html
Wow, things did hot up that initiative. It was almost as if the 'offence' of the Austrian grenadiers sending that unit from brigade Goulus-bis packing kicked the French into action!
ReplyDeleteIt could be; a very active initiative for sure!
DeletePretty epic effort on this one. Your tables always look good.
ReplyDeleteThanks, Joe. The Hovels Spanish/Mediteranean buildings really add pizzazz to the table!
DeleteIt's all kicking off now! Great fun,although I do feel sorry for the Austrians!
ReplyDeleteBest Iain
They got stomped a bit, but there is plenty more play left in them!
Delete